If you’re the kind of person who prefers to take on projects independently, you may have come across the task of connecting plywood to concrete before. This could be for a quick-fix setup like a makeshift wall or partition, or for the long-term goal of toughening up a sheet of plywood flooring. Whatever your goal is, you need to know how to do it precisely.
Before you start hammering, your first task is to drill holes in the plywood. Doing so stops the board from splitting when the nails are driven in. To do this correctly, you’ll need a hammer drill since a regular drill won’t be able to break through the concrete surface.
Put in concrete nails at the pilot holes, steering clear of regular nails; they are liable to work themselves loose eventually.
If the plywood you are employing is less than a half-inch thick, screws might be a better alternative to nails. Remember to opt for concrete screws; plain ones tend to become loose eventually.
By securely attaching the plywood to the concrete, the possibilities for creative completion are endless. If utilizing it as a flooring base, you can use carpet or tile to provide a unique aesthetic. On the other hand, if you’re transforming it into a wall, then drywall or paneling gives you multiple options to craft a distinctive look.
Whether you’re looking to install a shelf or build a shed, nailing plywood to concrete is a piece of cake if you take the right precautions. Ensuring your drill pilot holes and using appropriate fasteners will not only make the process straightforward, but guarantee you with an enduring and dependable finish that will hold up over time.
Related Product
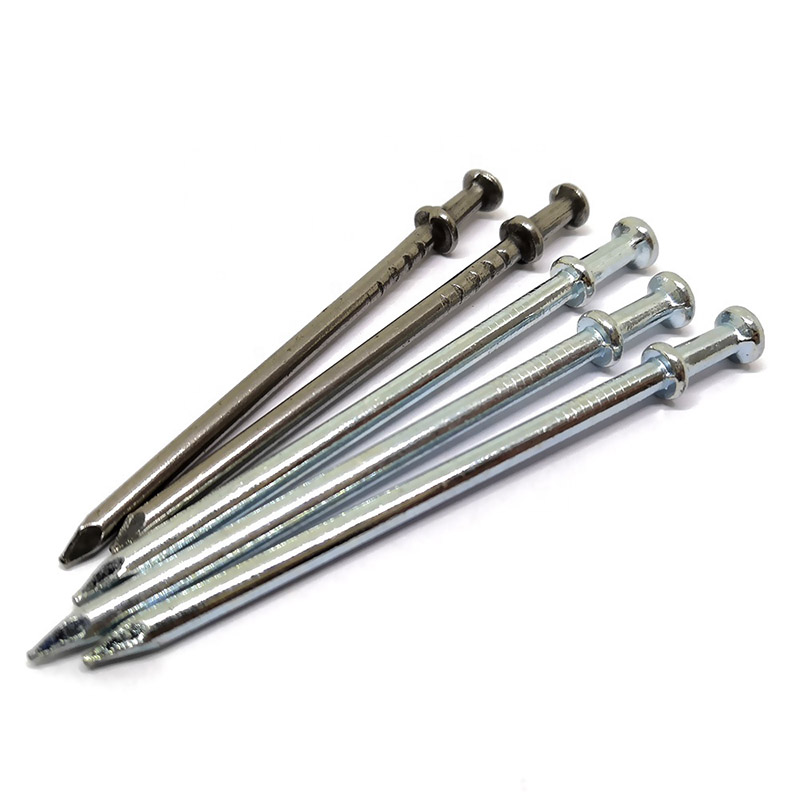
Double Head Nail
Product Information: Material Q195/Q235 Surface Treatment Bright, E.G, H.D.G, M.G, V.C, C.C, P.C and so on Head Two Head Shank Smooth Shank Point Diamond Point Kinds of pa […]

U Sod Staple
Product Information: Landscape Staples * 11 GAUGE STEEL CONSTRUCTION: The points on the staples are sharp enough to pierce commercial ground cloth, and the staples are long […]
Black concrete nail
concrete nail with special materials, concrete nails are specialty nails compared with common iron nails. It is harder, the shank is short and thick commonly and it has excellent p […]
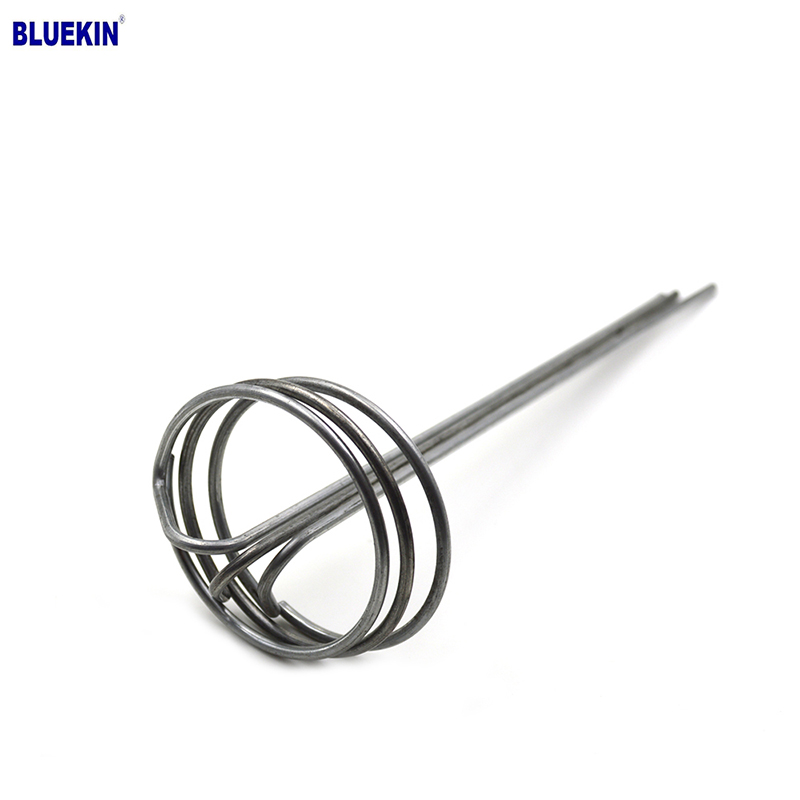
G Sod Staple
Product Information: Product name Sod Staple Material: Q195 /Q235 Size: 3/4X14GA, 3/4X9GA, 7/8X14GA, 1X9GA, 1-1/4X9GA, 1-1/2X9GA, 1-3/4X9GA Type: Round head with smooth shan […]

Garden Nail
Product Information: Black or yellow color plastic ground pegs are used for fix the ground cover or woven fabric or fleece on the ground. Material: Virgin PP OR PP +UV stabi […]
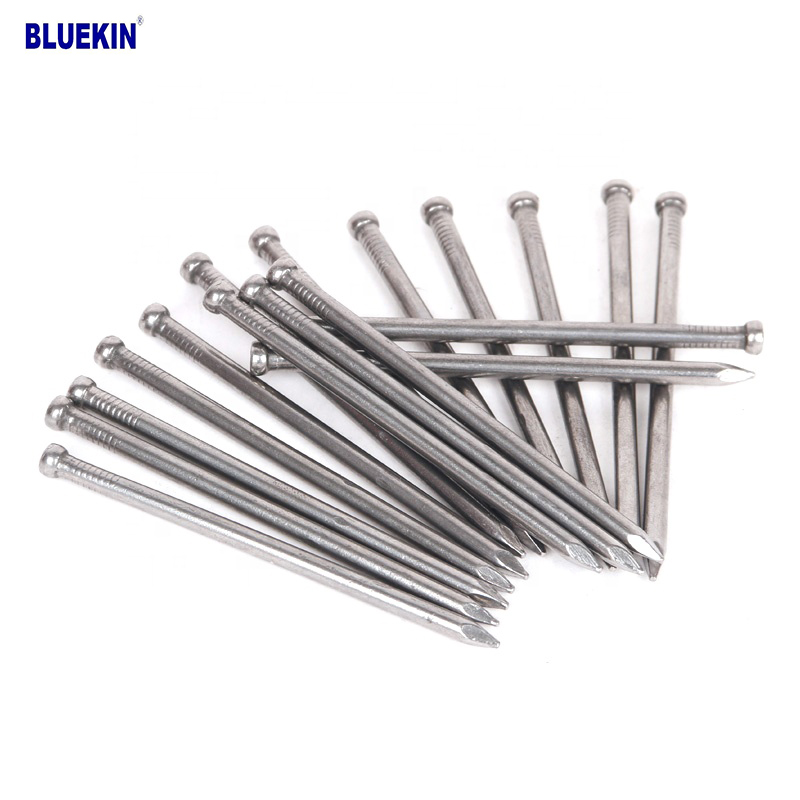
Headless Nail
Product Information: Cheap Lost Head Nails/ Headless Nails/ Finishing Nails Price Material Q195 or Q235 iron wire rod or according to request Size 1″ – 6″ Finish Polished or […]
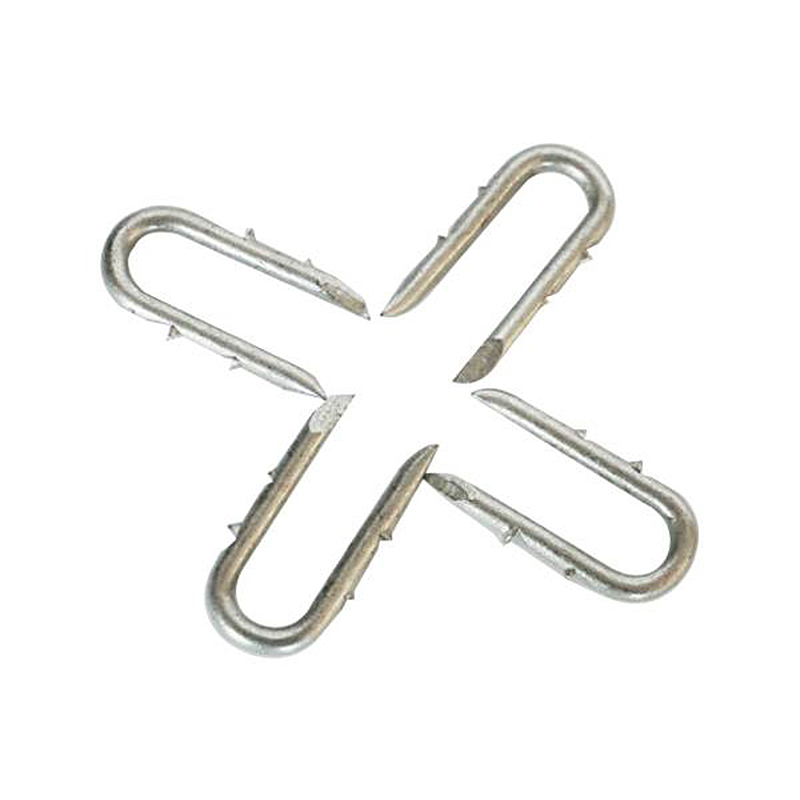
Fence U Nail
Product Information: U TYPE NAIL 1.material: Q195/Q235 Low Carbon Iron Rod 2.shank: smooth shank, single barbed shank, double barbed shank and others 3.Point: side cut point or di […]

Paper Strip Nail
Product Information: Material Q195, Q235, stainless steel Surface Finish Bright, Galvanized, Hot Dipped Galvaized, Electro Galvanized, Zic Yellow, Zine Bule, MG, Dacro, etc. […]
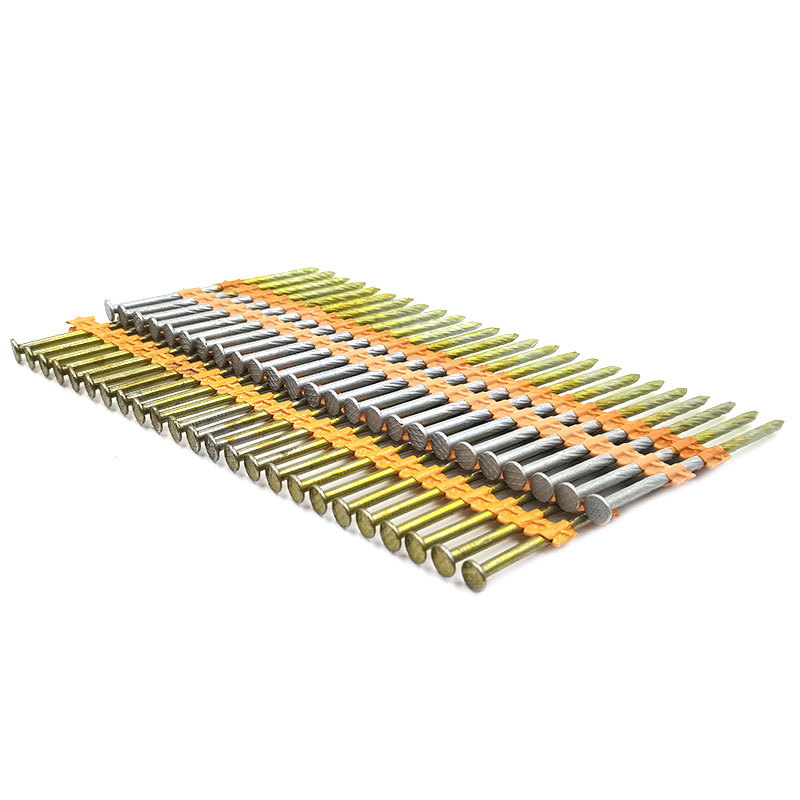
Plastic Strip Nail
Product Information: Diameter/mm(±0.05mm) Length/mm(±1.5mm) 2.87 50/60/65/70/75 3.05 70/75/83/90 3.33 75/83/90 3.76 75/90/100/130 4.11 75/90/100/130 4.5 75/90/100/130 Featur […]