Home improvement can be a tricky business, especially when it comes to hammering nails into concrete. Even those with plenty of DIY experience may find themselves out of their depth, stumped by the pressure and precision required to securely fasten the nail without cracking the surface.
For those who wish to succeed in cement nailing, practice and the correct tools are key! The following steps will provide an impressive path to mastery:
Nailing down your project? You’ll need to be sure you are using the appropriate fastener for your concrete surface. Traditional nails may not have the strength to grip onto this material, which is why you must opt for masonry nails or concrete screws. Many hardware shop aisles carry these fittings in varying lengths, so you can find exactly what you need for your job.
Creating a pilot hole is of the utmost importance when dealing with concrete – it shields the concrete from cracking, as well as facilitating the process of nailing it. To create a pilot hole, use a masonry drill bit specifically designed for the job.
Having drilled your pilot holes, the next step is to slide the nails into position. Utilizing a steady force, commence with the smaller nails initially, before graduating to the larger ones. Make sure they are firmly seated in the concrete for best results.
When trying to drive nails into a concrete foundation, a hammer drill can come in handy. This power tool is specially designed to assist with hammering the nails firmly into the surface.
After the nails have been successfully secured, your next step is to create a water-tight seal with putty or caulk. This will assist in avoiding the corrosion of the nails from water and moisture seeping in through the gaps
With the right steps in place, you’ll be effortlessly driving nails into concrete in no time! Just remember to exercise caution and work slowly to avoid breaking the surface.
Related Product

Paper Strip Nail
Product Information: Material Q195, Q235, stainless steel Surface Finish Bright, Galvanized, Hot Dipped Galvaized, Electro Galvanized, Zic Yellow, Zine Bule, MG, Dacro, etc. […]
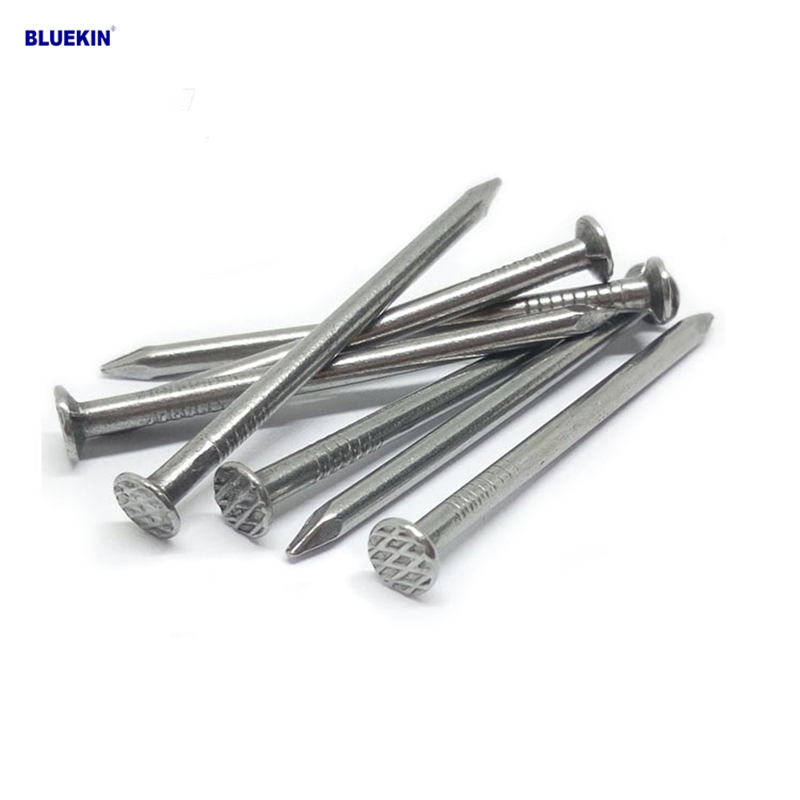
Common Nail
Product Information: Common Nail Material Q195, Q235 Shank diameter 1.2mm-10mm Length 19mm-300mm Finish polish/bright, electro galvanized, hot dip galvanized Head flated he […]

U Sod Staple
Product Information: Landscape Staples * 11 GAUGE STEEL CONSTRUCTION: The points on the staples are sharp enough to pierce commercial ground cloth, and the staples are long […]
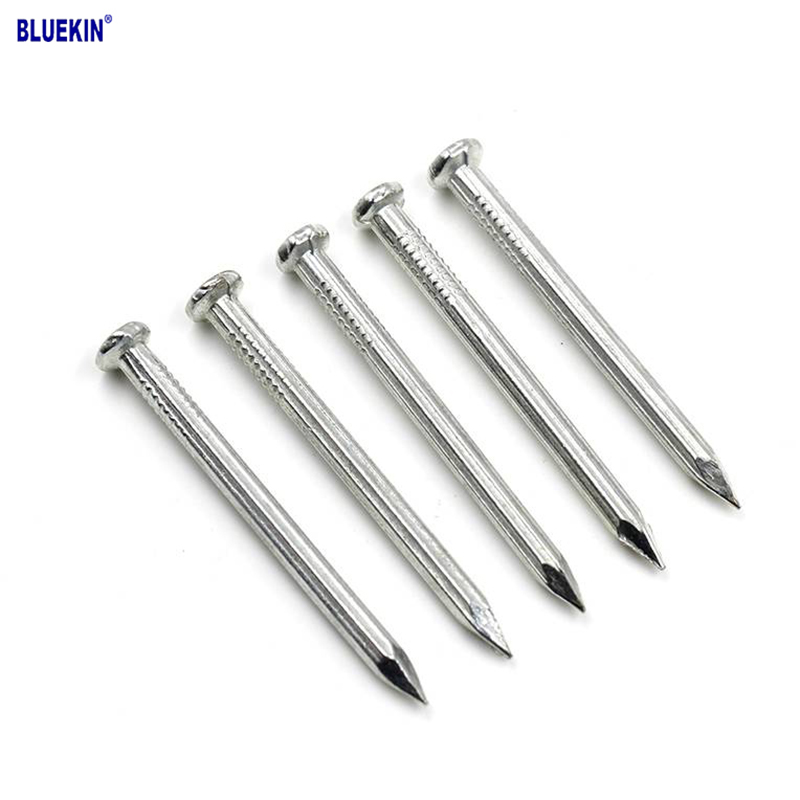
Concrete Nail
Product Information: Product name CONCRETE NAIL Material: #45 or #55 Steel Size: 1/2″-6″ Type: Round head with smooth shank or groove shank Treatment: Electro galvanized, ho […]
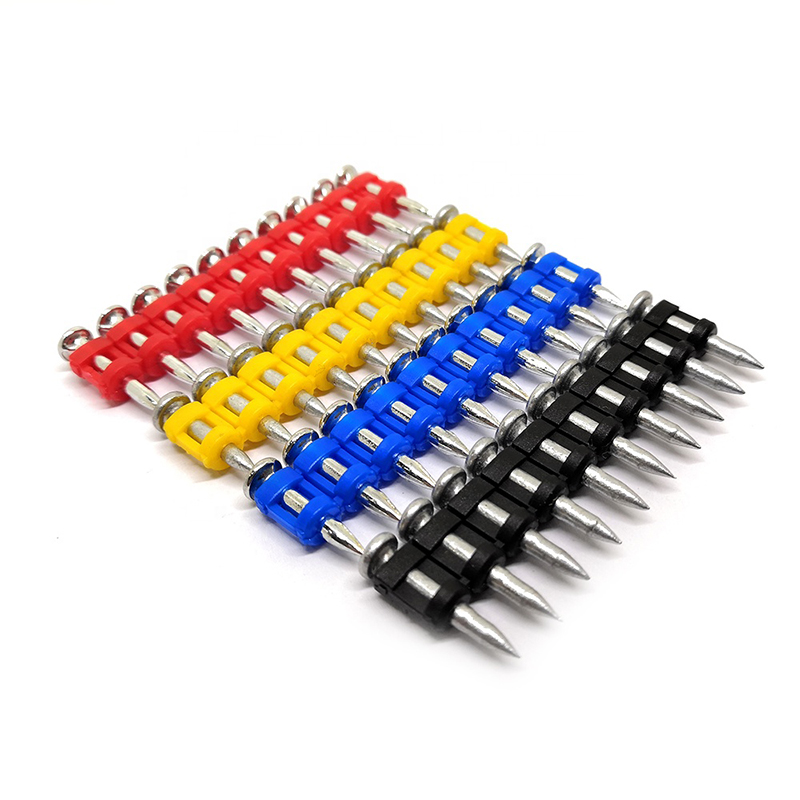
Shooting Nail
Product Information: GAS CONCRETE PIN NAIL raw material steel#45,#60 diameter 2.6mm,2.7mm,3.0mm,3.2mm length 13mm,16mm,19mm,22mm,27mm,32mm,37mm shank smooth shank & shri […]
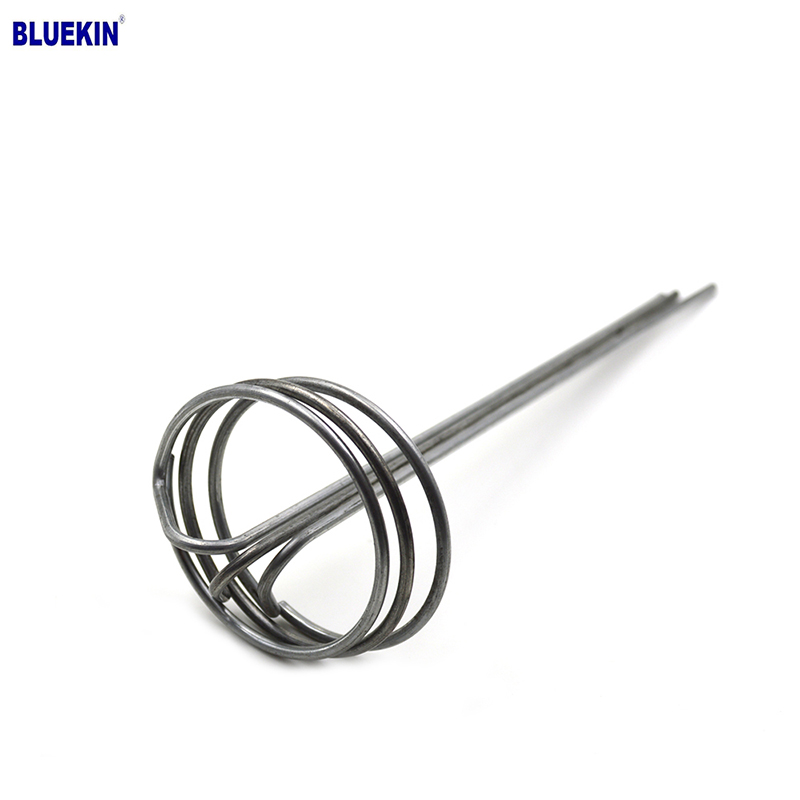
G Sod Staple
Product Information: Product name Sod Staple Material: Q195 /Q235 Size: 3/4X14GA, 3/4X9GA, 7/8X14GA, 1X9GA, 1-1/4X9GA, 1-1/2X9GA, 1-3/4X9GA Type: Round head with smooth shan […]
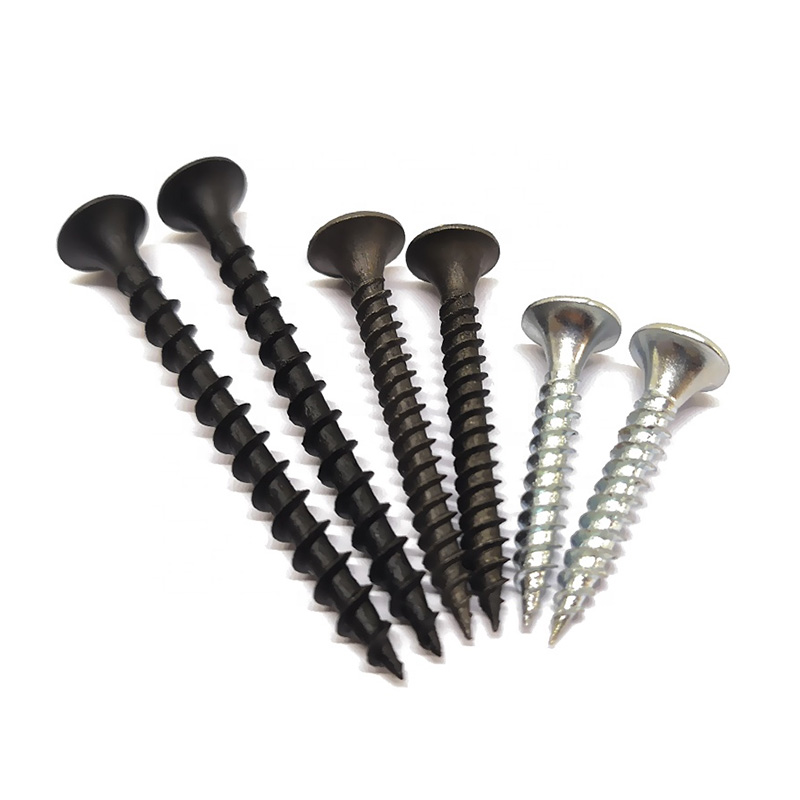
Drywall Screw
Product Information: Product Name Screws Drywall Nail Material Carbon steel C1022a Color Black,Galvanized Standard ISO,GB,DIN,JIS,ANSI,BSW Diameter M3.5-M6.3, 6#-14# Length […]
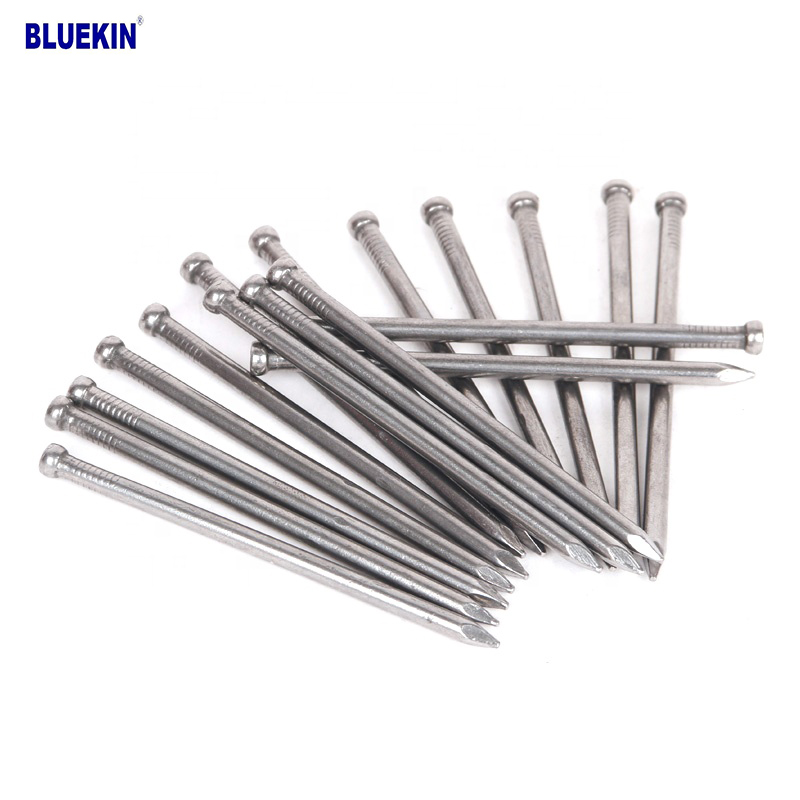
Headless Nail
Product Information: Cheap Lost Head Nails/ Headless Nails/ Finishing Nails Price Material Q195 or Q235 iron wire rod or according to request Size 1″ – 6″ Finish Polished or […]
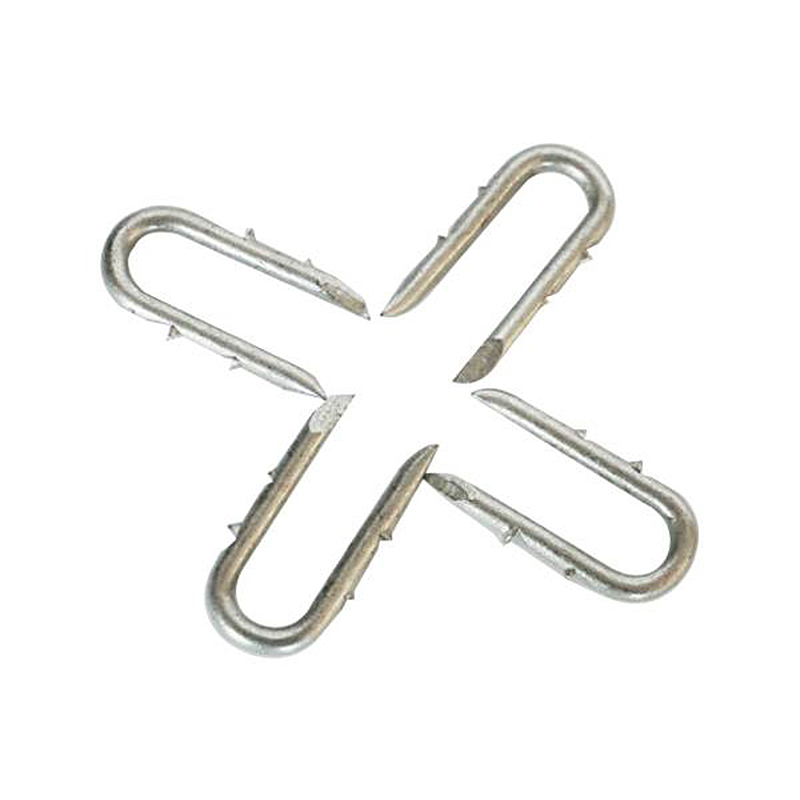
Fence U Nail
Product Information: U TYPE NAIL 1.material: Q195/Q235 Low Carbon Iron Rod 2.shank: smooth shank, single barbed shank, double barbed shank and others 3.Point: side cut point or di […]