Hardened steel is the material of choice for DIY projects that require fastening onto concrete or masonry surfaces. These specially designed concrete nails make an essential tool for any home improvement endeavor, providing a firm hold into even the hardest concrete components without causing damage. From decorative accents to utilitarian structures, concrete nails are an invaluable aid when it comes to working with concrete and masonry materials.
Choosing the correct concrete nails for the task at hand is essential. From a variety of sizes and types, the right selection can determine how successful the job will be. For heavier weights, a bigger nail size is fitting while something more petite is preferred with lighter weights. Length is likewise a factor to consider; longer nails will provide better penetration into the concrete surface.
After selecting the ideal concrete nails for your project, it is crucial to start out with a neat and tidy surface. To eliminate any dust or dirt, use a wire brush or bristle scrubber for a thorough cleaning. Residual moisture should also be wiped away prior to applying the nails, so make sure that the concrete is completely dry.
With the surface prepped and ready to go, it’s time to insert the concrete nails. Equipped with a hammer and a nail setter, be certain to take measured aim. Hold the hammer firmly at right angles to the concrete, and give it one firm tap before releasing it and moving on to the next nail. If everything is done properly, your work should look as professional as can be.
With a firm hold, insert the nail into the concrete. Secure it in place by tapping it down using a hammer and nail setter until its head is flush. Sealing the nail to the surface is essential, so apply a masonry adhesive to ensure stability and prevent movement. This will guarantee that it is held tight and won’t come lose.
It is important to assess the concrete nails after installation to guarantee that they have been driven in safely and at the desired angle. In the instance that there may be hesitations regarding the security of the nail, the wisest course of action is to replace it.
For any DIY enthusiast tackling a job that involves concrete or masonry surfaces, concrete nails offer a dependable fastening solution. Following the instructions provided can guarantee that these nails are fitted safely and will go the distance. Well-prepared and installed, these nails make a surefire option for a lasting hold.
Looking to create a firm fixation to concrete? Concrete nails are your go-to solution! Not only do they guarantee a long-lasting bond, but they can be employed in multiple situations, from connecting objects to drywall to suspending hefty articles on concrete walls. In this article, let’s discover the proper techniques for efficiently using concrete nails and ensuring that nothing budges afterwards.
Picking the perfect concrete nail for a project requires close attention to determine the ideal size, type, and length to use. Lightweight jobs are best suited to hammering nails while mightier tasks need a power drill with a hammering action. The material being connected and the thickness of the concrete will help decide the specific kind of nail that is most suitable. Remember, when it comes to using concrete nails, choosing the right one is the very first step.
Now that you’ve chosen the ideal type of nail, it is time to begin the nailing process. Before you start, make sure to wipe away any dust or debris from the surface. For hammering, go for one that comes with a rubber or plastic head to protect the concrete from any damage. If you are planning on using a power drill, ensure that it comes with a hammer drill bit that is compatible with the respective nail size.
After selecting your nail and bit, kick off the drilling process by using the bit to break into the concrete. Recollect that each kind of nail necessitates a specific depth and angle of drilling. Embed the nail when you have finished drilling and then start tapping it into the concrete. Ensure that you keep up with the angle and depth the bit used while nailing it until it melds entirely with the surface of the concrete.
After you’ve properly affixed the nail, you can begin to attach whatever it is you’re working with. Depending on the item, additional measures of security may be needed, such as screws or bolts. It’s essential to make sure you select the correct type of fastener for the task at hand.
For long-lasting adherence to concrete surfaces, concrete nails will provide a strong connection. The right nail and drill bit are imperative for the job—ensure you are selecting the correct tools for your project. After drilling a suitable hole, insert the nail at an appropriate angle and drive it into the concrete until it lays flat on the surface.. When accomplished correctly, this technique will produce a bond that withstands the tests of time.
Related Product
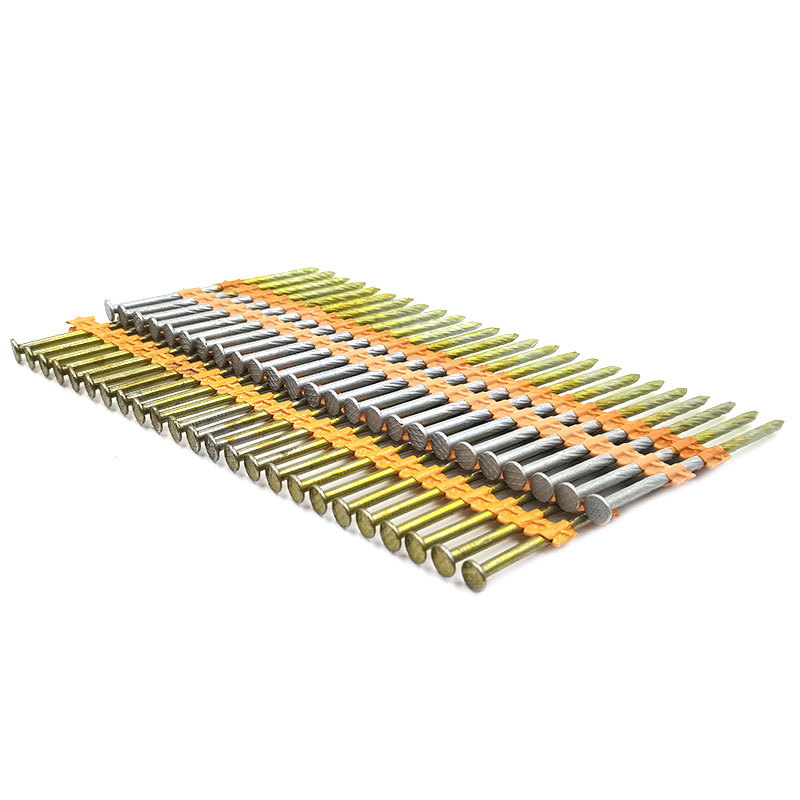
Plastic Strip Nail
Product Information: Diameter/mm(±0.05mm) Length/mm(±1.5mm) 2.87 50/60/65/70/75 3.05 70/75/83/90 3.33 75/83/90 3.76 75/90/100/130 4.11 75/90/100/130 4.5 75/90/100/130 Featur […]
Black concrete nail
concrete nail with special materials, concrete nails are specialty nails compared with common iron nails. It is harder, the shank is short and thick commonly and it has excellent p […]
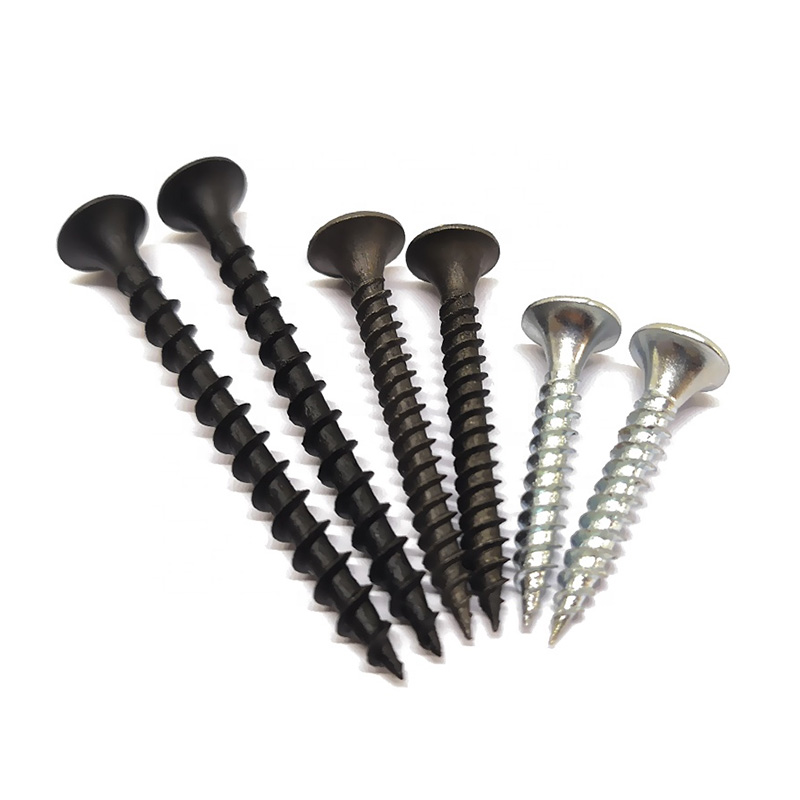
Drywall Screw
Product Information: Product Name Screws Drywall Nail Material Carbon steel C1022a Color Black,Galvanized Standard ISO,GB,DIN,JIS,ANSI,BSW Diameter M3.5-M6.3, 6#-14# Length […]
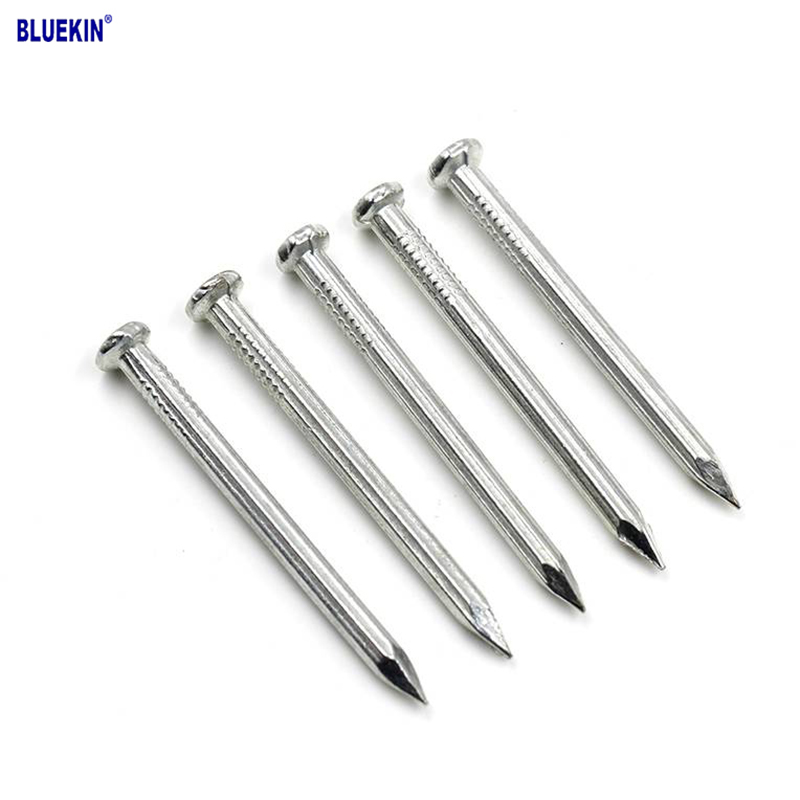
Concrete Nail
Product Information: Product name CONCRETE NAIL Material: #45 or #55 Steel Size: 1/2″-6″ Type: Round head with smooth shank or groove shank Treatment: Electro galvanized, ho […]
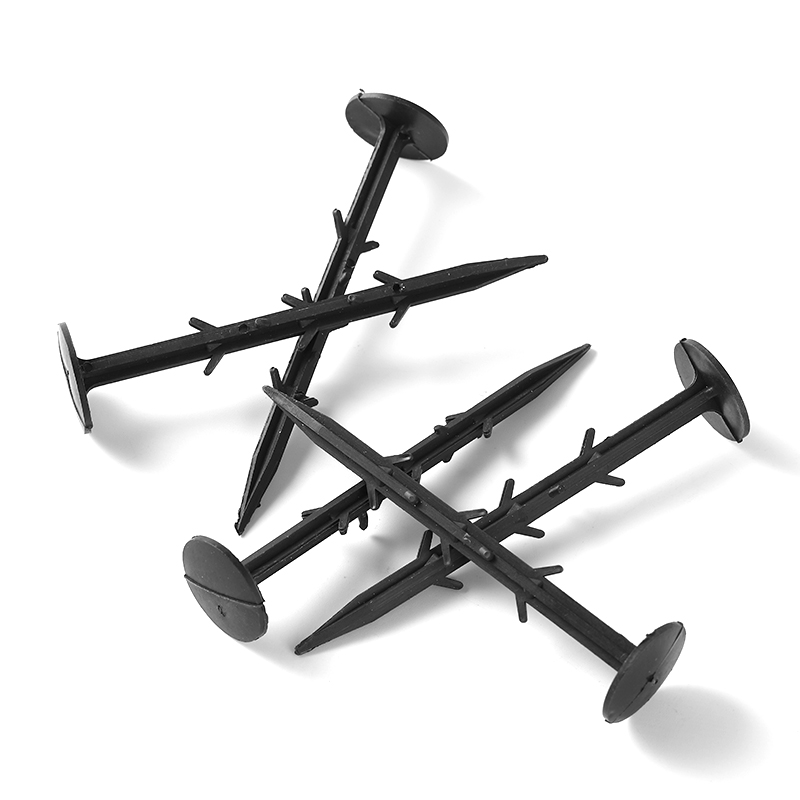
Garden Nail
Product Information: Black or yellow color plastic ground pegs are used for fix the ground cover or woven fabric or fleece on the ground. Material: Virgin PP OR PP +UV stabi […]
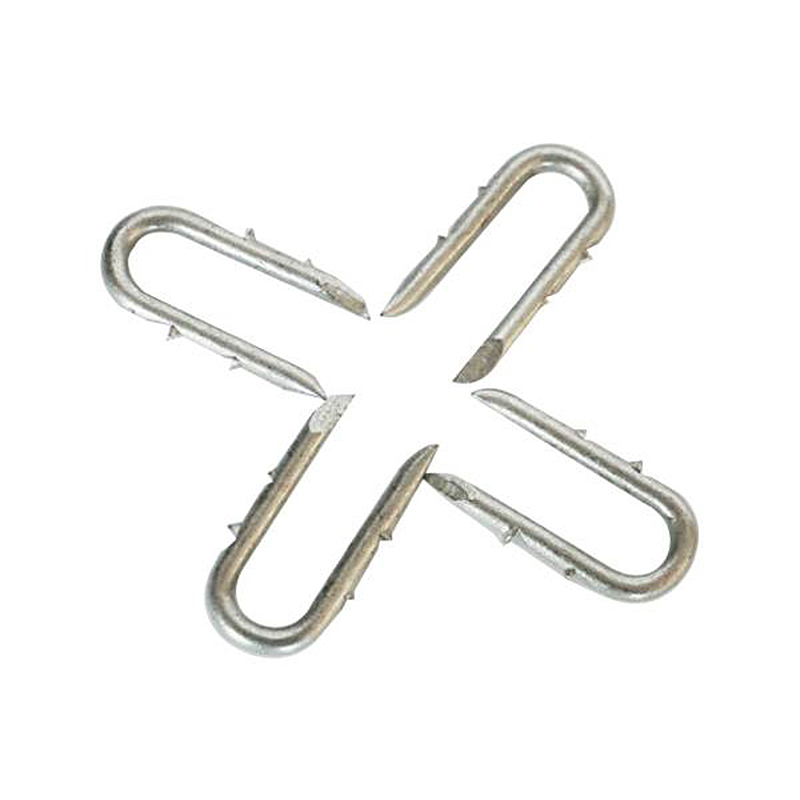
Fence U Nail
Product Information: U TYPE NAIL 1.material: Q195/Q235 Low Carbon Iron Rod 2.shank: smooth shank, single barbed shank, double barbed shank and others 3.Point: side cut point or di […]
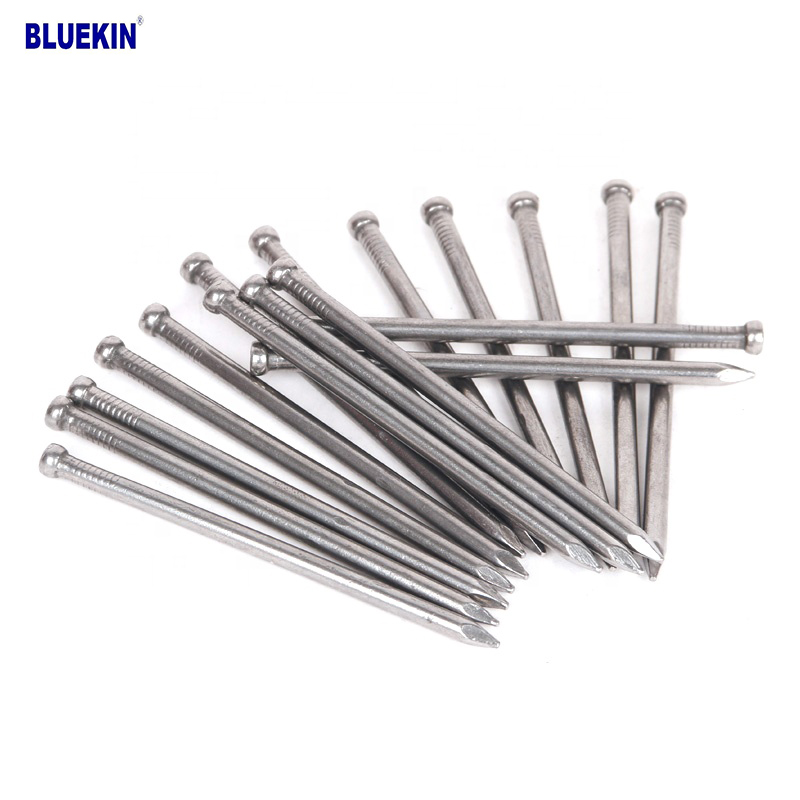
Headless Nail
Product Information: Cheap Lost Head Nails/ Headless Nails/ Finishing Nails Price Material Q195 or Q235 iron wire rod or according to request Size 1″ – 6″ Finish Polished or […]
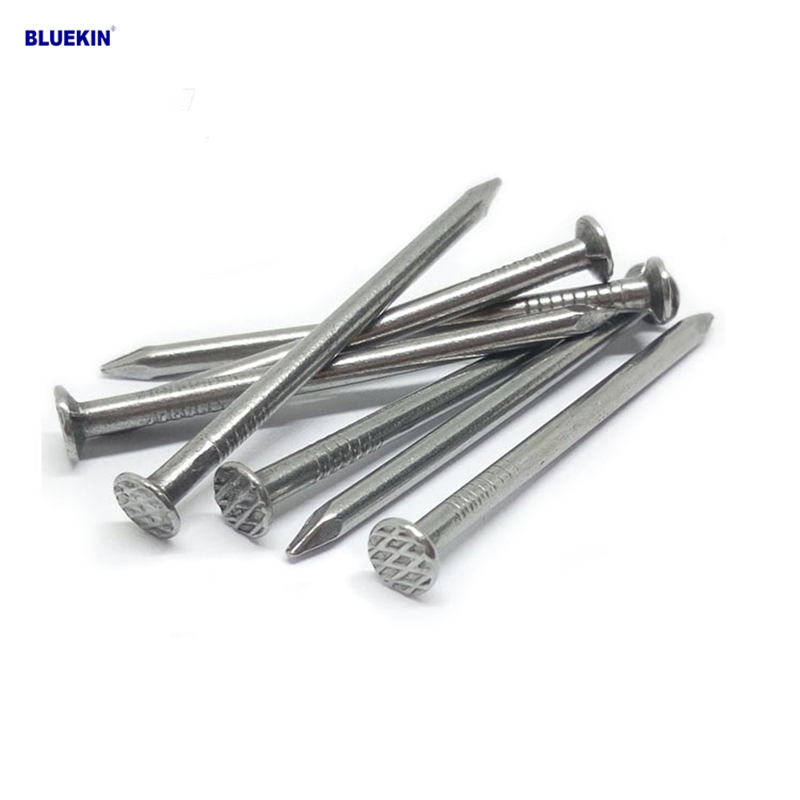
Common Nail
Product Information: Common Nail Material Q195, Q235 Shank diameter 1.2mm-10mm Length 19mm-300mm Finish polish/bright, electro galvanized, hot dip galvanized Head flated he […]
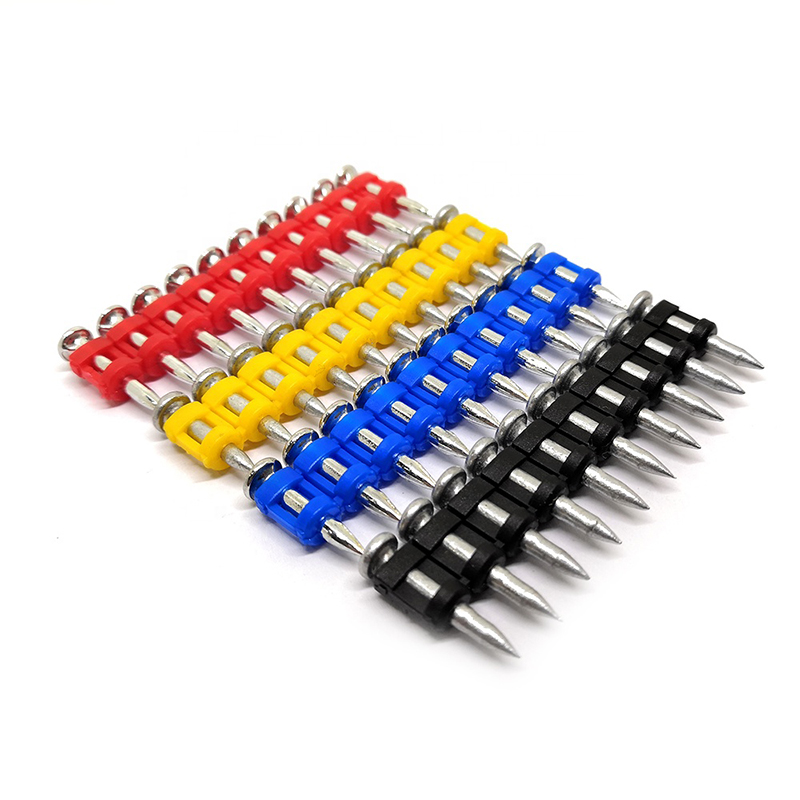
Shooting Nail
Product Information: GAS CONCRETE PIN NAIL raw material steel#45,#60 diameter 2.6mm,2.7mm,3.0mm,3.2mm length 13mm,16mm,19mm,22mm,27mm,32mm,37mm shank smooth shank & shri […]