To ensure lasting stability when adorning your walls with your favorite accents, you cannot go wrong with reliable nails. Below is a step-by-step manual to help you get started on the right foot. Whether you opt for screws, nails, or adhesive strips may depend on what type of project you’re tackling, but nails should suffice for permanent installs.
Prior to beginning the project, you should have the right items for the job. Acquire a hammer alongside a nail and a block of wood for starters. If you’re looking to use a power drill, make sure you also grab yourself a concrete drill bit.
Put a pencil mark or piece of tape on the wall at the site that you want to adorn with a nail. This spot is to be the designated location.
Before you swing the hammer, rest a piece of wood on the wall. Doing so will protect the wall from any possible harm due to forceful blows.
Firmly grasping the nail between two fingers, commence firmly striking with the hammer. For increased efficiency when powering a drill, it is advised to drill a pre-hole for gripping convenience. The foundation of the anchor will be better off for it, making the hammering process go smoother and quicker.
5. Give the nail an extra jolt until it’s seated comfortably in the wall. With a forceful motion, drive your hammer down on the nail until it aligns with the wall’s surface.
Celebrate Your Handywork With The Block Of Wood Gone!
Related Product
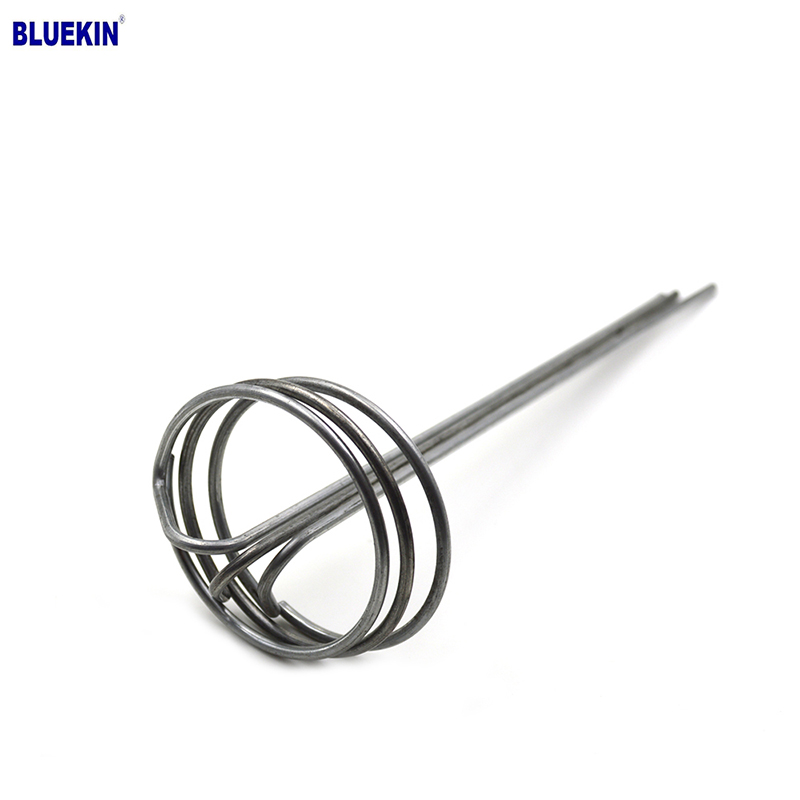
G Sod Staple
Product Information: Product name Sod Staple Material: Q195 /Q235 Size: 3/4X14GA, 3/4X9GA, 7/8X14GA, 1X9GA, 1-1/4X9GA, 1-1/2X9GA, 1-3/4X9GA Type: Round head with smooth shan […]
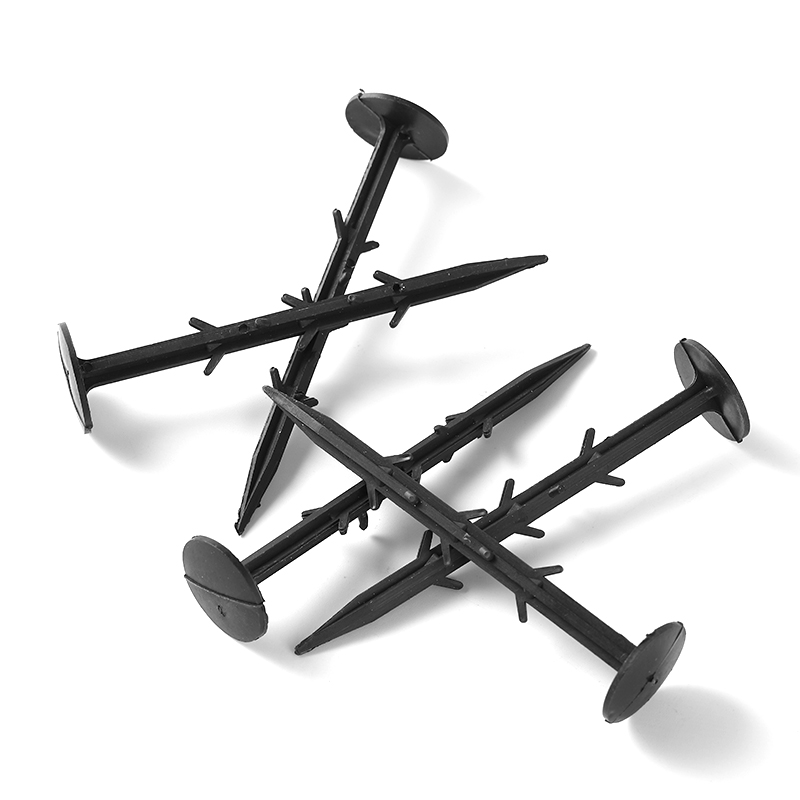
Garden Nail
Product Information: Black or yellow color plastic ground pegs are used for fix the ground cover or woven fabric or fleece on the ground. Material: Virgin PP OR PP +UV stabi […]
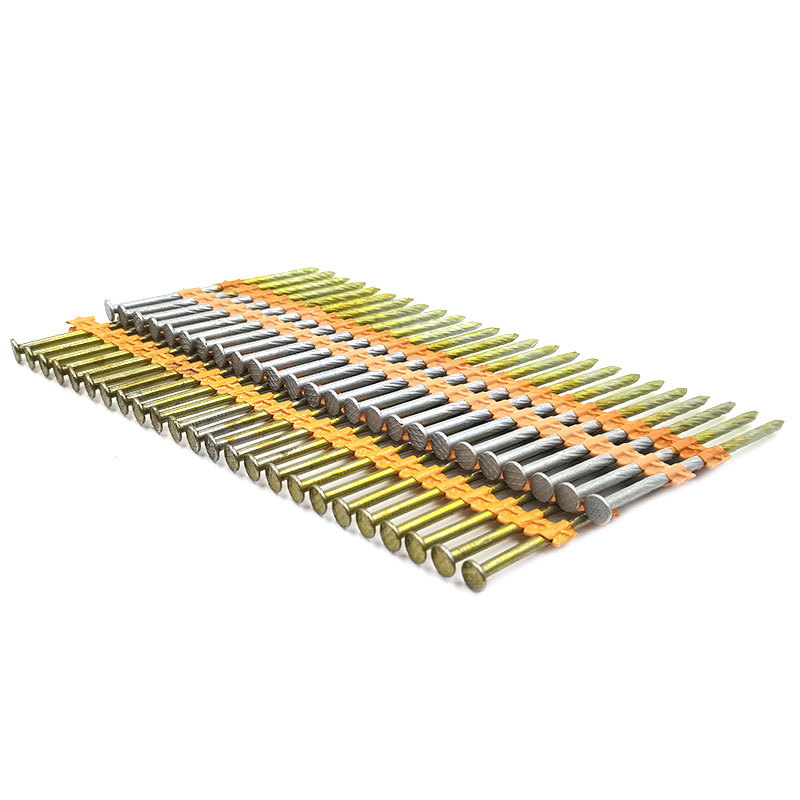
Plastic Strip Nail
Product Information: Diameter/mm(±0.05mm) Length/mm(±1.5mm) 2.87 50/60/65/70/75 3.05 70/75/83/90 3.33 75/83/90 3.76 75/90/100/130 4.11 75/90/100/130 4.5 75/90/100/130 Featur […]
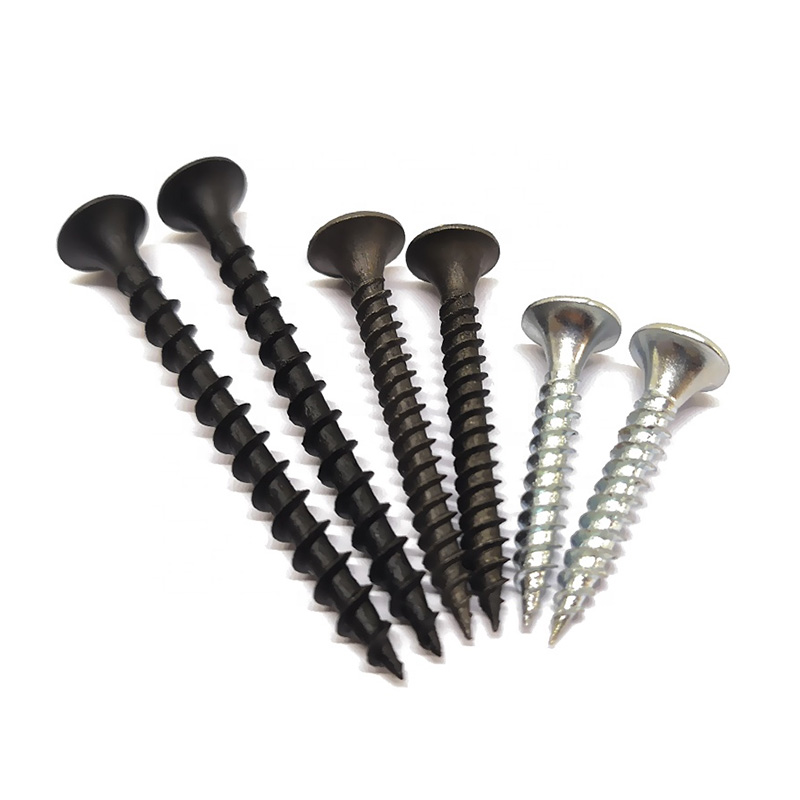
Drywall Screw
Product Information: Product Name Screws Drywall Nail Material Carbon steel C1022a Color Black,Galvanized Standard ISO,GB,DIN,JIS,ANSI,BSW Diameter M3.5-M6.3, 6#-14# Length […]
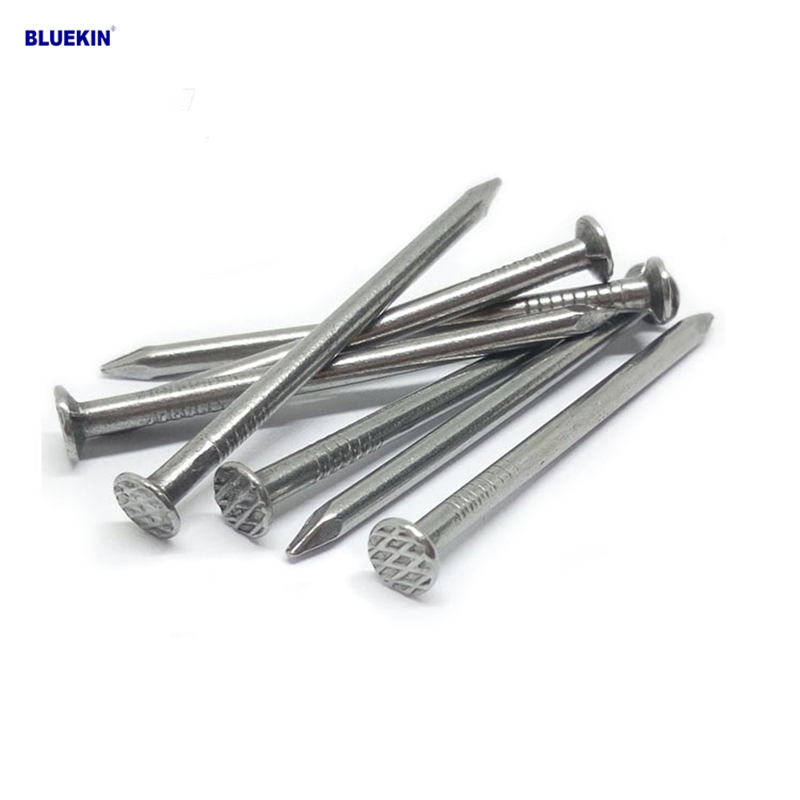
Common Nail
Product Information: Common Nail Material Q195, Q235 Shank diameter 1.2mm-10mm Length 19mm-300mm Finish polish/bright, electro galvanized, hot dip galvanized Head flated he […]
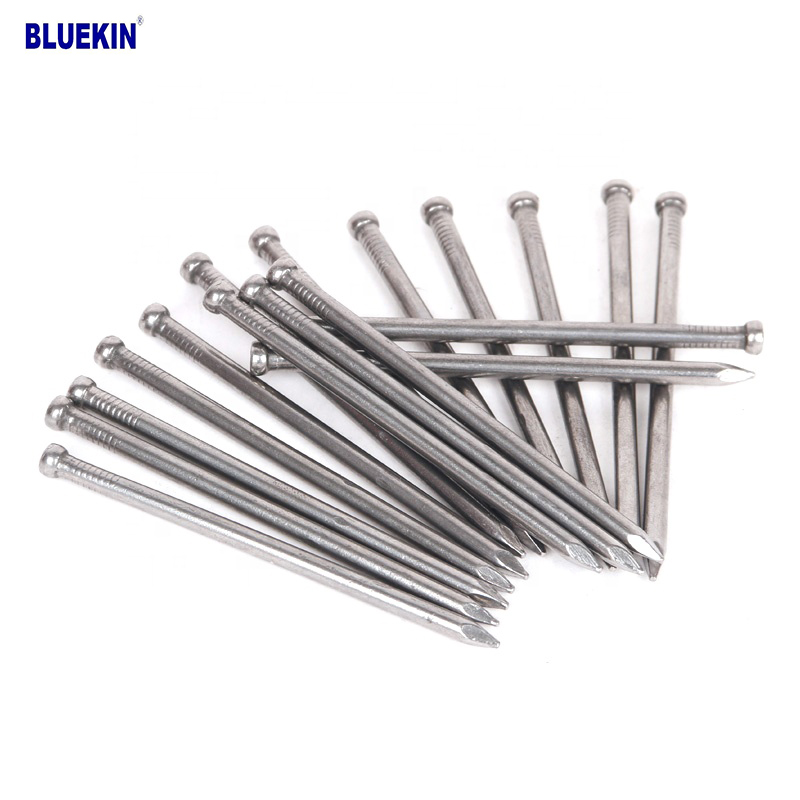
Headless Nail
Product Information: Cheap Lost Head Nails/ Headless Nails/ Finishing Nails Price Material Q195 or Q235 iron wire rod or according to request Size 1″ – 6″ Finish Polished or […]
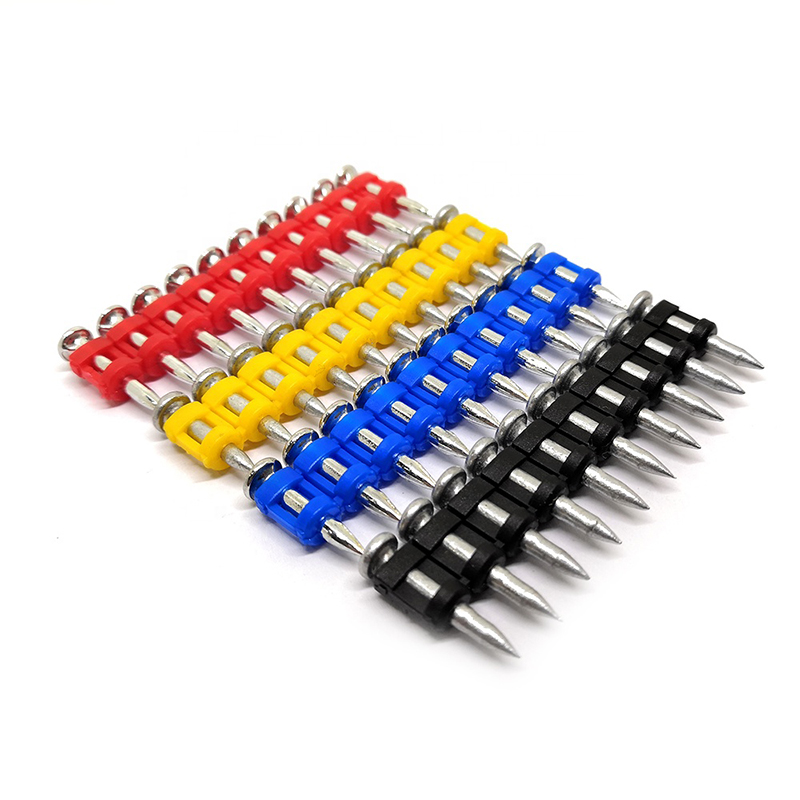
Shooting Nail
Product Information: GAS CONCRETE PIN NAIL raw material steel#45,#60 diameter 2.6mm,2.7mm,3.0mm,3.2mm length 13mm,16mm,19mm,22mm,27mm,32mm,37mm shank smooth shank & shri […]
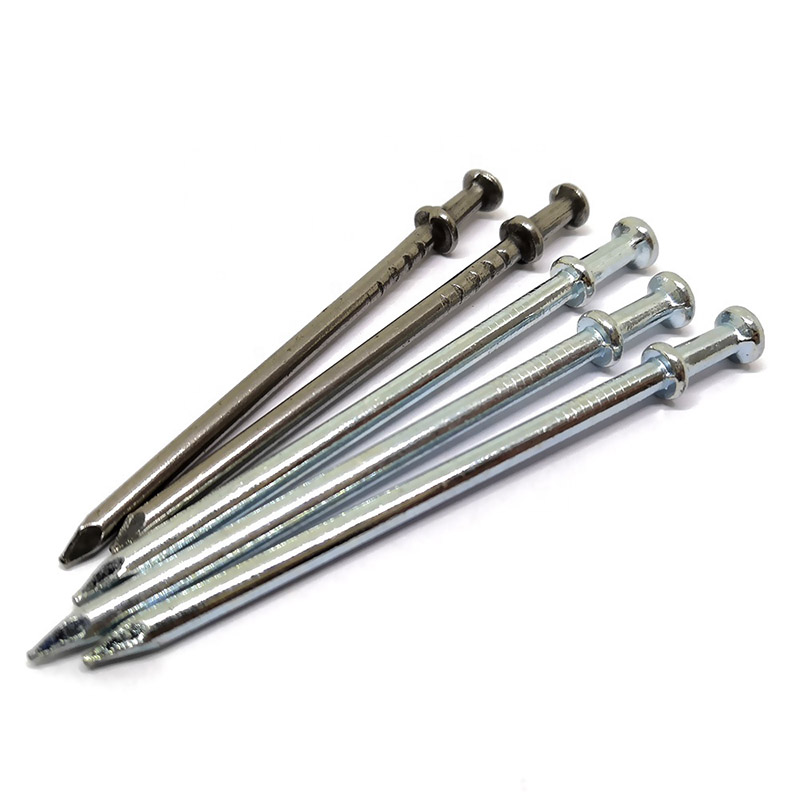
Double Head Nail
Product Information: Material Q195/Q235 Surface Treatment Bright, E.G, H.D.G, M.G, V.C, C.C, P.C and so on Head Two Head Shank Smooth Shank Point Diamond Point Kinds of pa […]
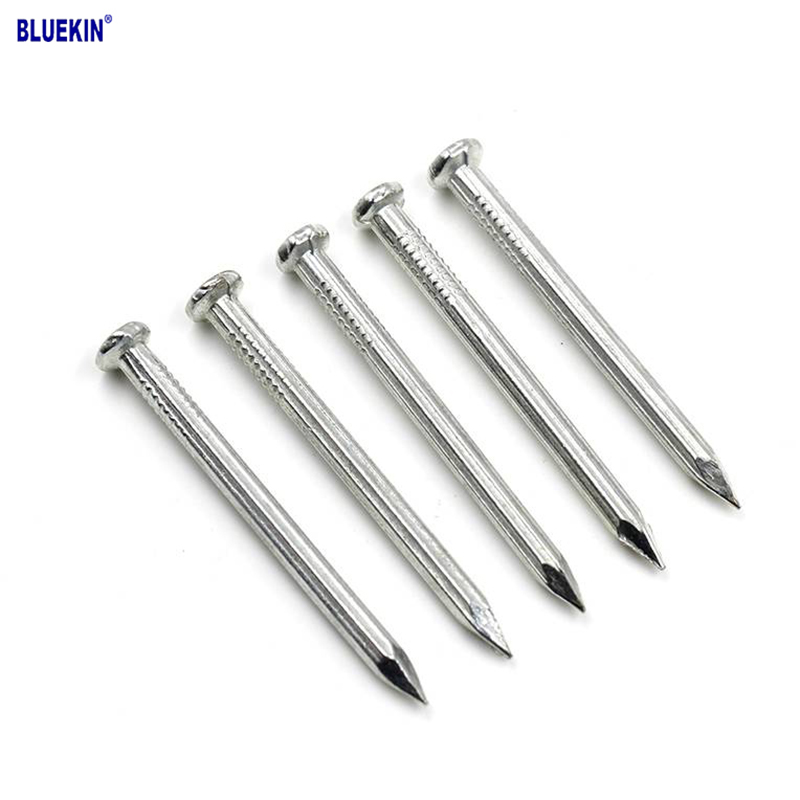
Concrete Nail
Product Information: Product name CONCRETE NAIL Material: #45 or #55 Steel Size: 1/2″-6″ Type: Round head with smooth shank or groove shank Treatment: Electro galvanized, ho […]