Hardwood, tile, or laminate flooring can be a great touch to your home- but you’ll want to ensure a professional finish by utilizing transition strips. These moldings make what could otherwise be a jagged junction between different flooring materials properly smooth. It might take a bit of patience and the right tools, but every surface in your home can come together perfectly with the right transition strips.
Gather the Necessities
To stave off rust and make transition strip removal a breeze, begin by coating the concrete in a sealer. This will provide crucial protection for your nails.
Subsequently, measure and draw a straight line on the floor using a tape measure and chalk line to indicate where the transition strip should be fitted. Take care to utilize a level for accuracy.
It’s time to firmly hold the transition strip down. If your strip is wide, applying some glue in addition to nailing is highly recommended. Spread an abundant layer of glue along the back of the strip and then slot it in. Hammer softly into the concrete to stick those nails into place.
To make sure no unwelcome visitors make their home beneath your floor, use a caulking gun to create a reliable seal between the floor and the strip that has been placed. That way, dirt and other debris will remain far from the sacred boundaries of your floor.
With just a bit of creativity and elbow grease, you can easily make installing a transition strip on concrete a walk in the park.
Related Product

Black concrete nail
concrete nail with special materials, concrete nails are specialty nails compared with common iron nails. It is harder, the shank is short and thick commonly and it has excellent p […]
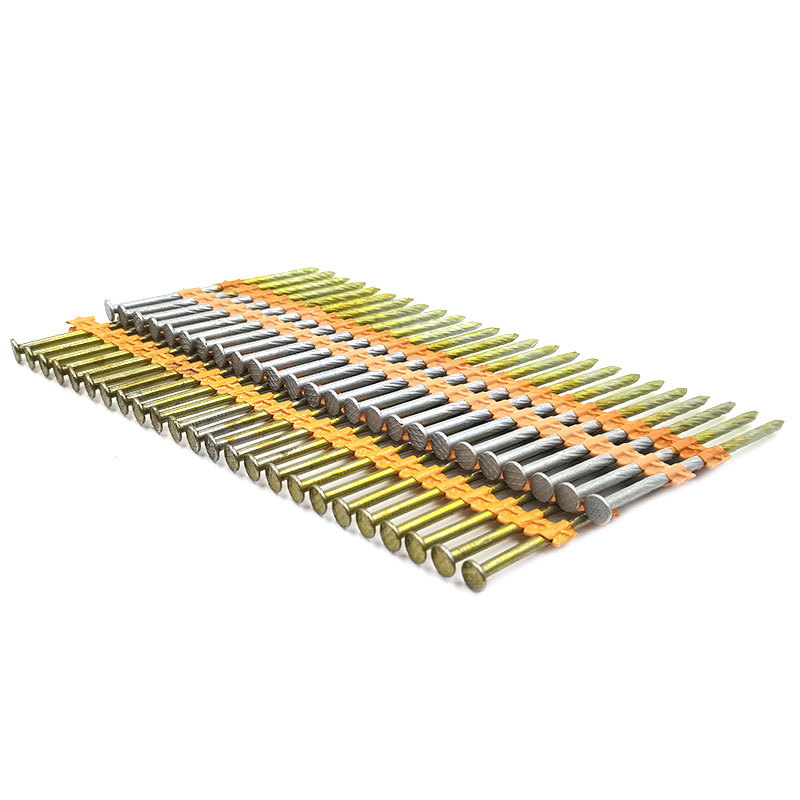
Plastic Strip Nail
Product Information: Diameter/mm(±0.05mm) Length/mm(±1.5mm) 2.87 50/60/65/70/75 3.05 70/75/83/90 3.33 75/83/90 3.76 75/90/100/130 4.11 75/90/100/130 4.5 75/90/100/130 Featur […]

Paper Strip Nail
Product Information: Material Q195, Q235, stainless steel Surface Finish Bright, Galvanized, Hot Dipped Galvaized, Electro Galvanized, Zic Yellow, Zine Bule, MG, Dacro, etc. […]
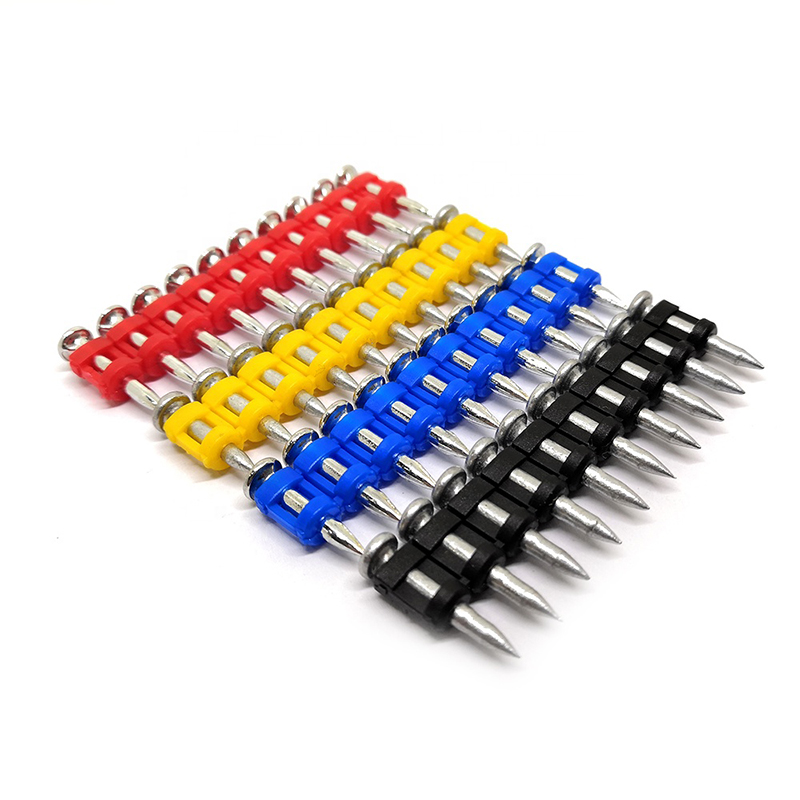
Shooting Nail
Product Information: GAS CONCRETE PIN NAIL raw material steel#45,#60 diameter 2.6mm,2.7mm,3.0mm,3.2mm length 13mm,16mm,19mm,22mm,27mm,32mm,37mm shank smooth shank & shri […]
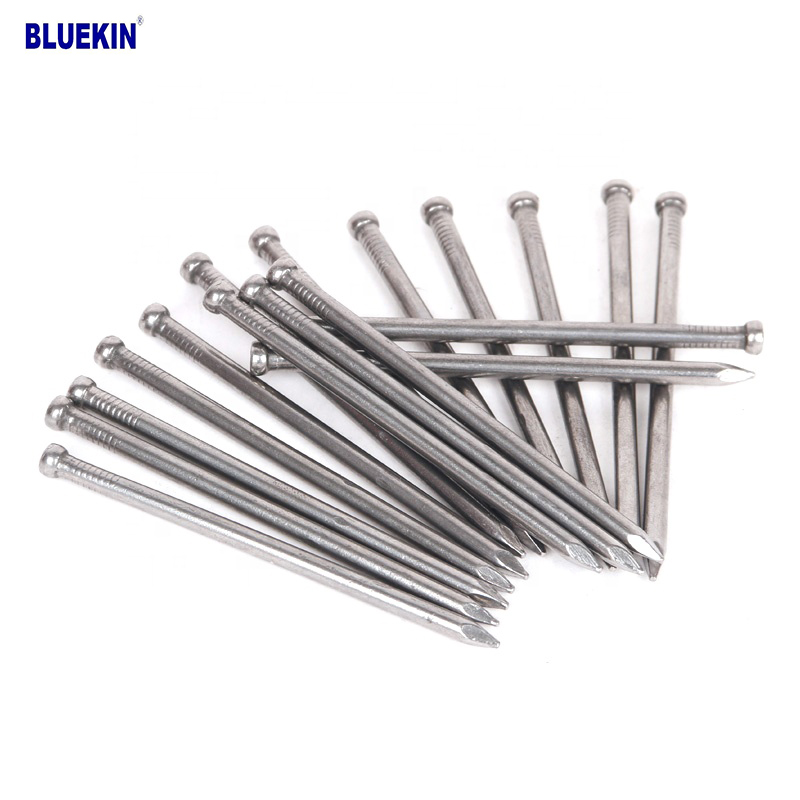
Headless Nail
Product Information: Cheap Lost Head Nails/ Headless Nails/ Finishing Nails Price Material Q195 or Q235 iron wire rod or according to request Size 1″ – 6″ Finish Polished or […]
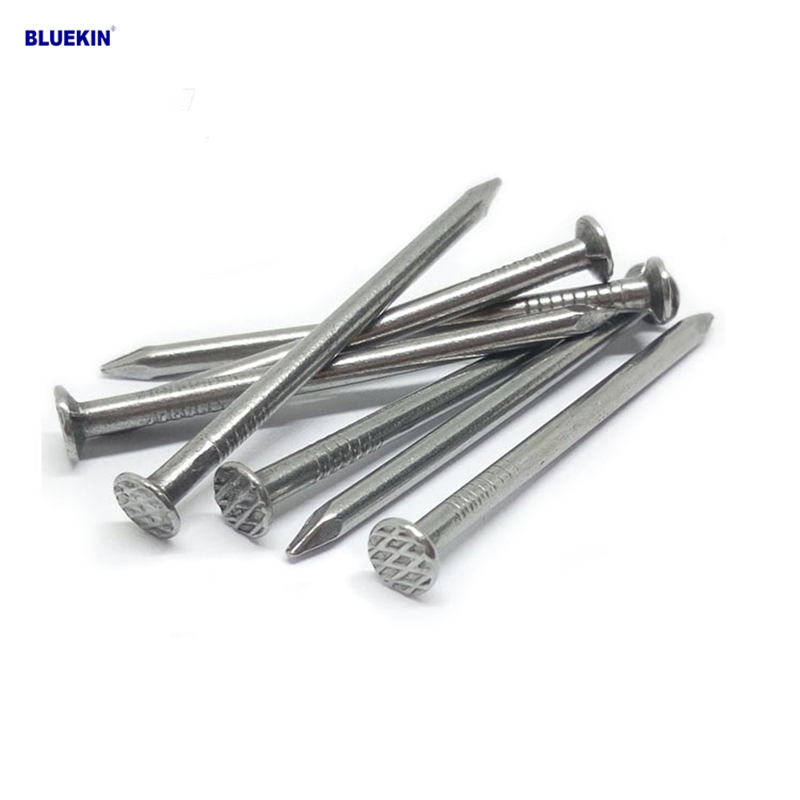
Common Nail
Product Information: Common Nail Material Q195, Q235 Shank diameter 1.2mm-10mm Length 19mm-300mm Finish polish/bright, electro galvanized, hot dip galvanized Head flated he […]
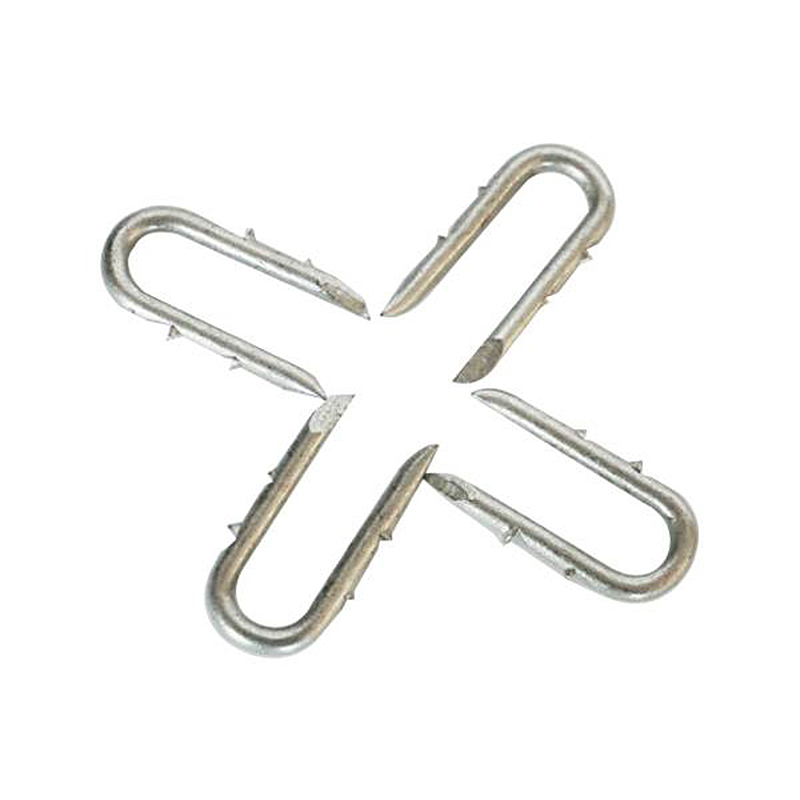
Fence U Nail
Product Information: U TYPE NAIL 1.material: Q195/Q235 Low Carbon Iron Rod 2.shank: smooth shank, single barbed shank, double barbed shank and others 3.Point: side cut point or di […]
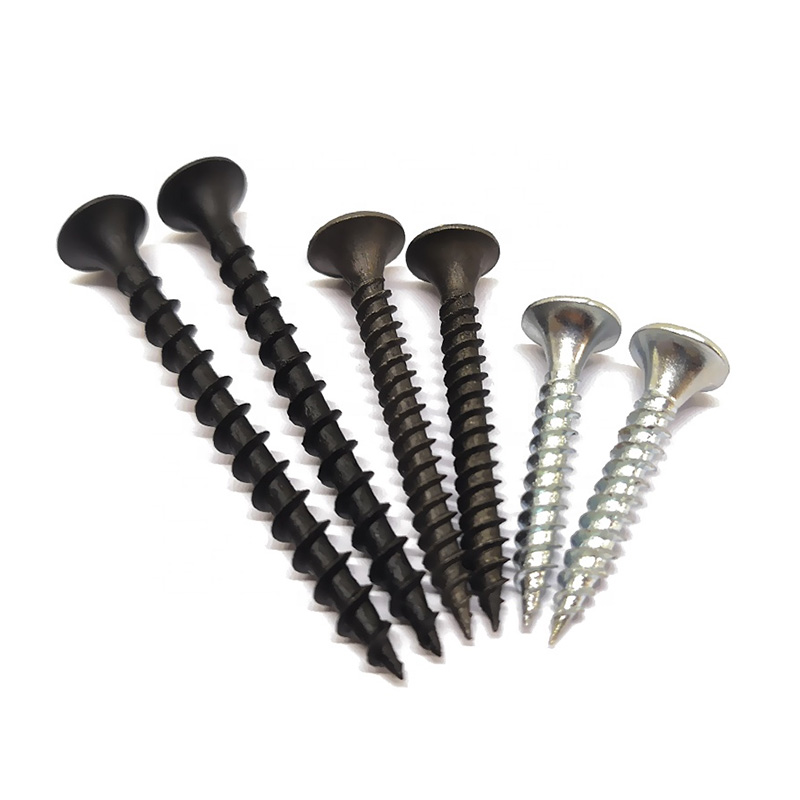
Drywall Screw
Product Information: Product Name Screws Drywall Nail Material Carbon steel C1022a Color Black,Galvanized Standard ISO,GB,DIN,JIS,ANSI,BSW Diameter M3.5-M6.3, 6#-14# Length […]
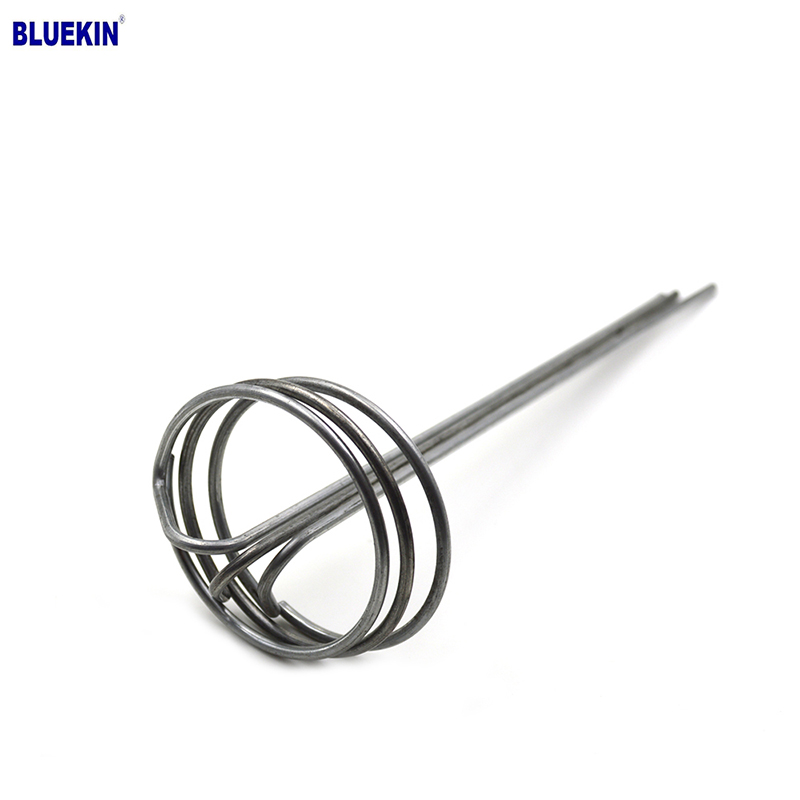
G Sod Staple
Product Information: Product name Sod Staple Material: Q195 /Q235 Size: 3/4X14GA, 3/4X9GA, 7/8X14GA, 1X9GA, 1-1/4X9GA, 1-1/2X9GA, 1-3/4X9GA Type: Round head with smooth shan […]