Driving a nail into concrete, required for those projects that call for it, doesn’t have to be a daunting task. All you need are the right materials and a bit of confidence – and you’re sure to get the job done in no time flat.
Firstly, collect the tools necessary to carry out your task. A hammer, a nail, and a drill – all items that must be acquired. Furthermore, require a masonry bit bigger in size than the nail to complement the set. If you own an electric drill, ensure that the drill bit on hand is compatible with the masonry bit that was mentioned previously.
Now that you have gathered everything you need, it is time to dive into the job at hand. Commence by drilling a preliminary hole to anchor into the concrete. The masonry bit should work efficiently on the hardened surface, and the small hole will help guarantee that the nail remains secure.
With the pilot hole ready, it’s time to put in the nail. Ensure the nail is positioned flush with a 90-degree angle to the concrete, and then start pounding with the hammer. As you strike, you should gradually see the nail slipping deeper and deeper into the cement.
Press your hammer’s head down against the nail until it is securely lodged within the concrete surface and appears to be a seamless part of it. Marvel at the job you have accomplished once you have reached this point.
For a long-term fix, concrete screws are the way to go. Specially designed for use in cement, these screws are sure to make a firm connection. Before fitting, just ensure that the right drill bit is used.
Related Product
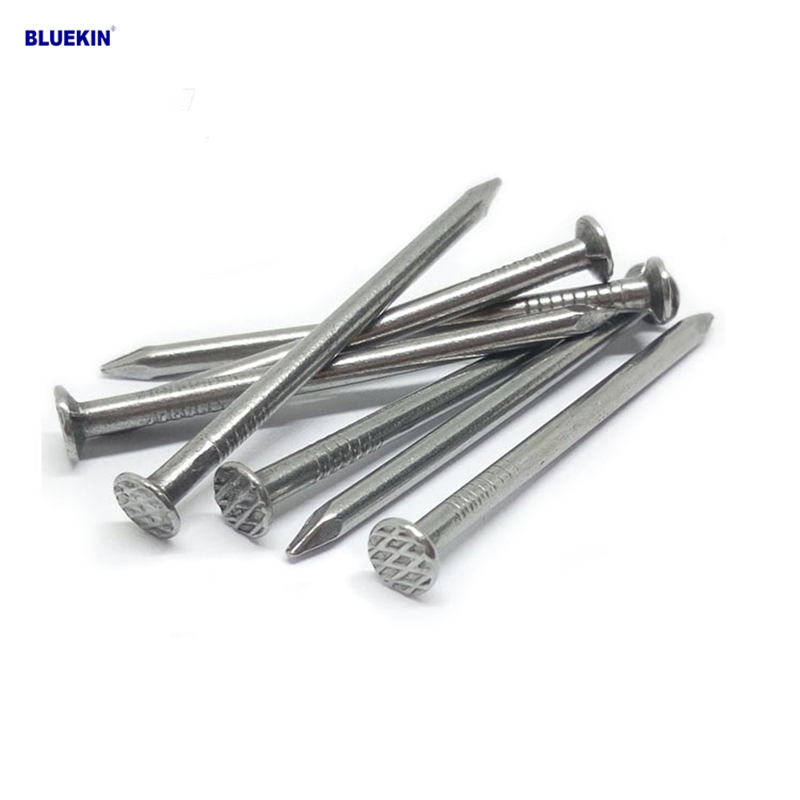
Common Nail
Product Information: Common Nail Material Q195, Q235 Shank diameter 1.2mm-10mm Length 19mm-300mm Finish polish/bright, electro galvanized, hot dip galvanized Head flated he […]
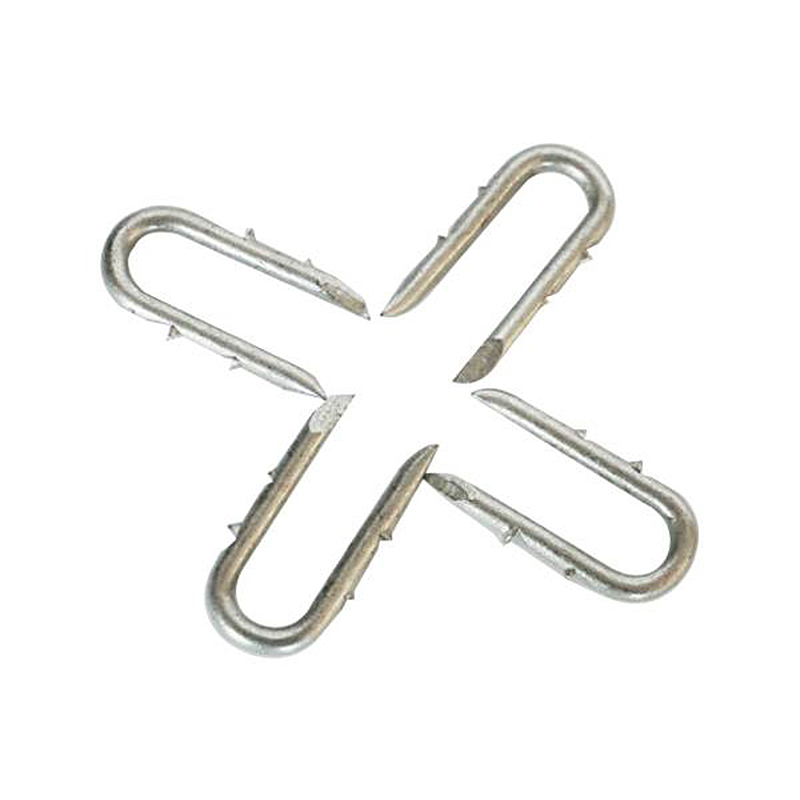
Fence U Nail
Product Information: U TYPE NAIL 1.material: Q195/Q235 Low Carbon Iron Rod 2.shank: smooth shank, single barbed shank, double barbed shank and others 3.Point: side cut point or di […]

Paper Strip Nail
Product Information: Material Q195, Q235, stainless steel Surface Finish Bright, Galvanized, Hot Dipped Galvaized, Electro Galvanized, Zic Yellow, Zine Bule, MG, Dacro, etc. […]
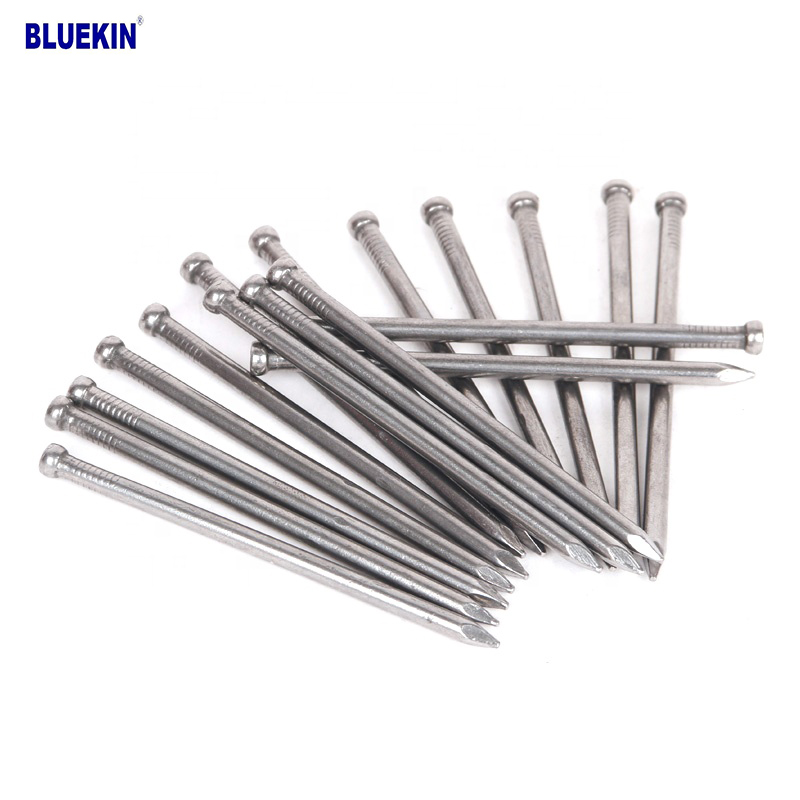
Headless Nail
Product Information: Cheap Lost Head Nails/ Headless Nails/ Finishing Nails Price Material Q195 or Q235 iron wire rod or according to request Size 1″ – 6″ Finish Polished or […]

U Sod Staple
Product Information: Landscape Staples * 11 GAUGE STEEL CONSTRUCTION: The points on the staples are sharp enough to pierce commercial ground cloth, and the staples are long […]
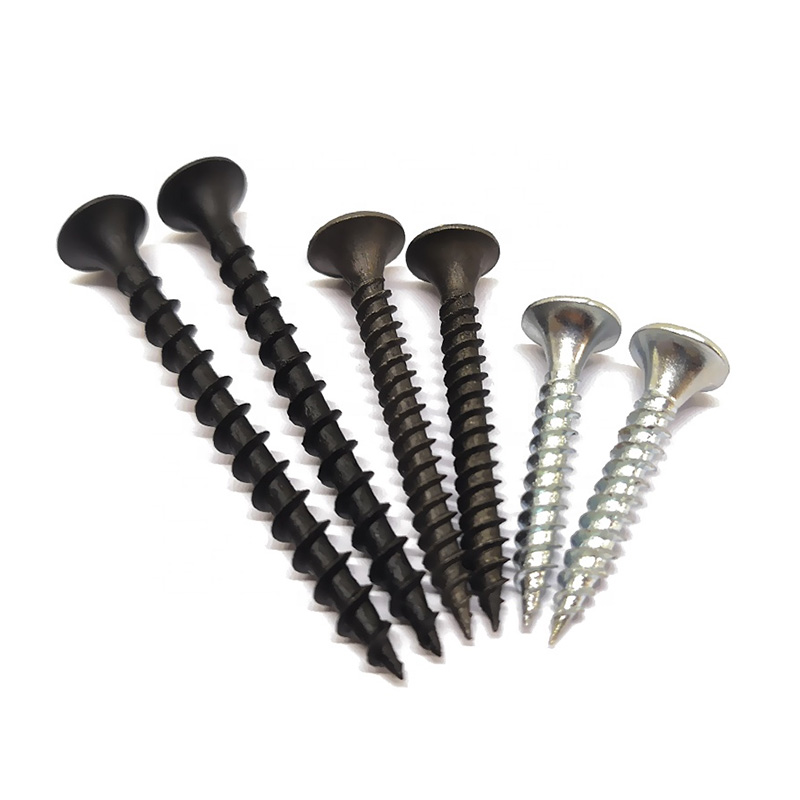
Drywall Screw
Product Information: Product Name Screws Drywall Nail Material Carbon steel C1022a Color Black,Galvanized Standard ISO,GB,DIN,JIS,ANSI,BSW Diameter M3.5-M6.3, 6#-14# Length […]
Black concrete nail
concrete nail with special materials, concrete nails are specialty nails compared with common iron nails. It is harder, the shank is short and thick commonly and it has excellent p […]
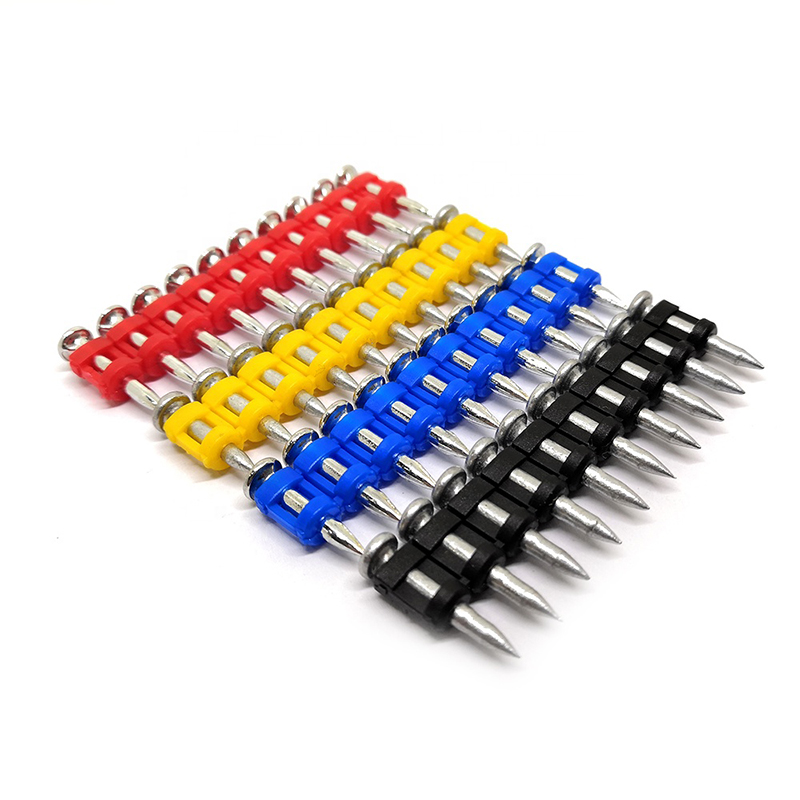
Shooting Nail
Product Information: GAS CONCRETE PIN NAIL raw material steel#45,#60 diameter 2.6mm,2.7mm,3.0mm,3.2mm length 13mm,16mm,19mm,22mm,27mm,32mm,37mm shank smooth shank & shri […]
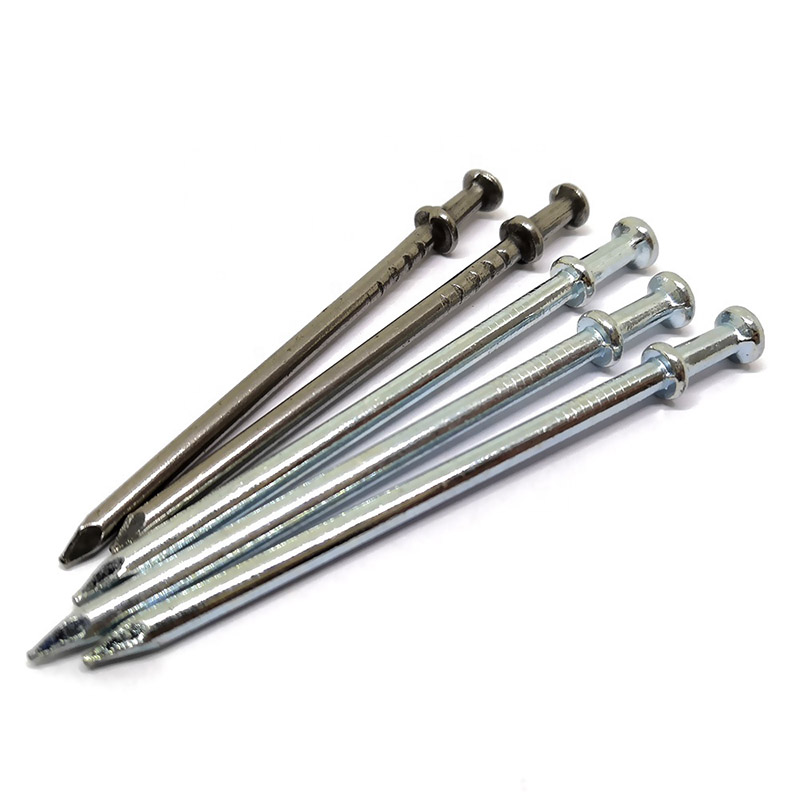
Double Head Nail
Product Information: Material Q195/Q235 Surface Treatment Bright, E.G, H.D.G, M.G, V.C, C.C, P.C and so on Head Two Head Shank Smooth Shank Point Diamond Point Kinds of pa […]