Looking to include a touch of decorative adornment to your abode but not sure how to go about putting a nail into a concrete wall? Have no fear; the task is far from insurmountable. By following a few simple steps you can easily incorporate the new hardware into your living quarters and add some alluring aesthetics in the process.
Finding the right nail for the task at hand is key, but you must also be aware of your drill bit size. This will depend on the size of your nail and the material it is made from. For smaller nails, you’ll need a smaller tool, whereas, if you’re getting your hands on larger fasteners, you’ll need to call for a slightly larger bit. In terms of materials, if it’s steel nails you’re working with, then it will call for a different drill bit choice than if they had been a plastic variant.
After deciding on the nail for your project, make sure to measure the size of the hole it will require. Once you have the sizing figured out, use a pencil to trace it onto the wall.
It’s time to begin drilling – grab your power drill and get ready to start, but be sure to progress slowly. As you get closer to the wall, gradually increase speed but be cautious – too much velocity may result in a busted bit.
Utilizing a hand drill? For the best start, angle the drill at 45, and as you near the wall, switch to a perfectly vertical motion.
Once you’ve successfully breached the obstruction, your next step is to insert the nail. Initially, hold the nail at a 45 degree tilt and strike it with slight taps from the hammer. Gradually, as the nail starts to penetrate further, you can drive it securely into the material with straight-on hammering.
It’s as easy as pie! Get out, grab your toolbox, and get to work installing that fresh hardware. A few simple steps are all you need for this home renovation feat. So don’t hesitate – let the drilling commence!
Related Product
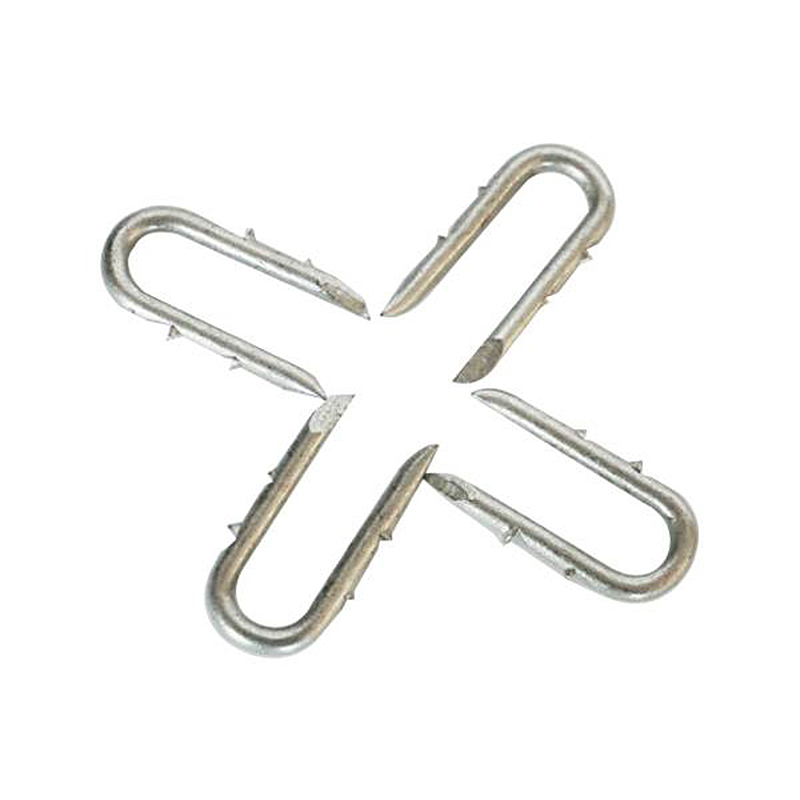
Fence U Nail
Product Information: U TYPE NAIL 1.material: Q195/Q235 Low Carbon Iron Rod 2.shank: smooth shank, single barbed shank, double barbed shank and others 3.Point: side cut point or di […]
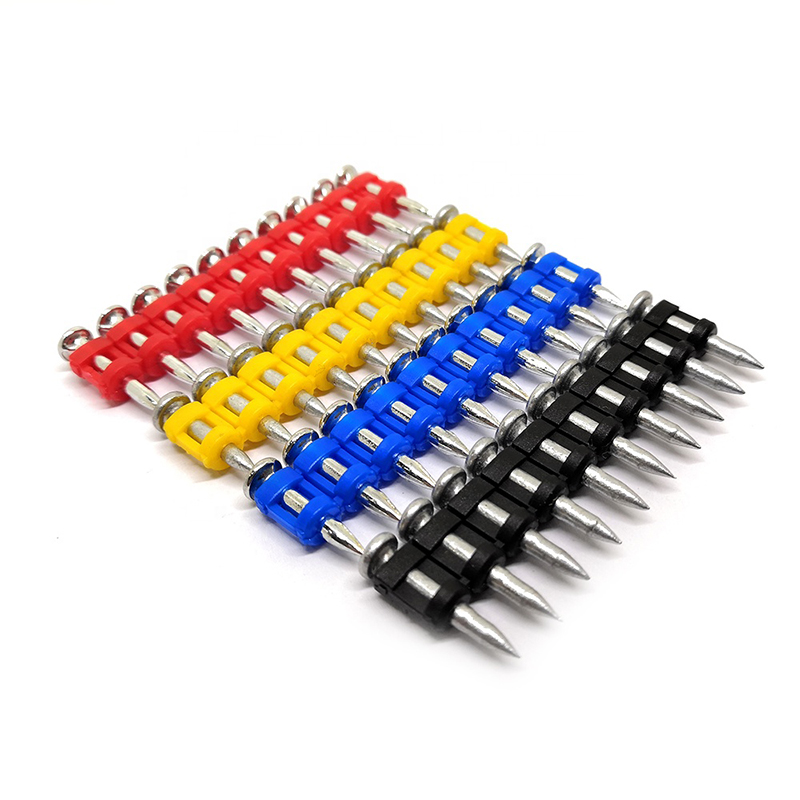
Shooting Nail
Product Information: GAS CONCRETE PIN NAIL raw material steel#45,#60 diameter 2.6mm,2.7mm,3.0mm,3.2mm length 13mm,16mm,19mm,22mm,27mm,32mm,37mm shank smooth shank & shri […]

Paper Strip Nail
Product Information: Material Q195, Q235, stainless steel Surface Finish Bright, Galvanized, Hot Dipped Galvaized, Electro Galvanized, Zic Yellow, Zine Bule, MG, Dacro, etc. […]
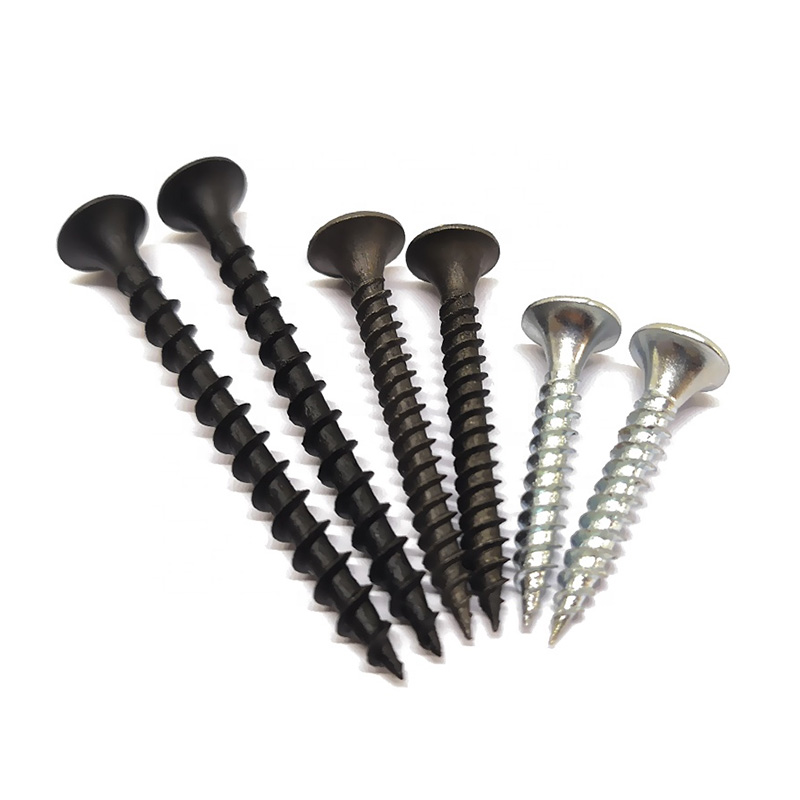
Drywall Screw
Product Information: Product Name Screws Drywall Nail Material Carbon steel C1022a Color Black,Galvanized Standard ISO,GB,DIN,JIS,ANSI,BSW Diameter M3.5-M6.3, 6#-14# Length […]
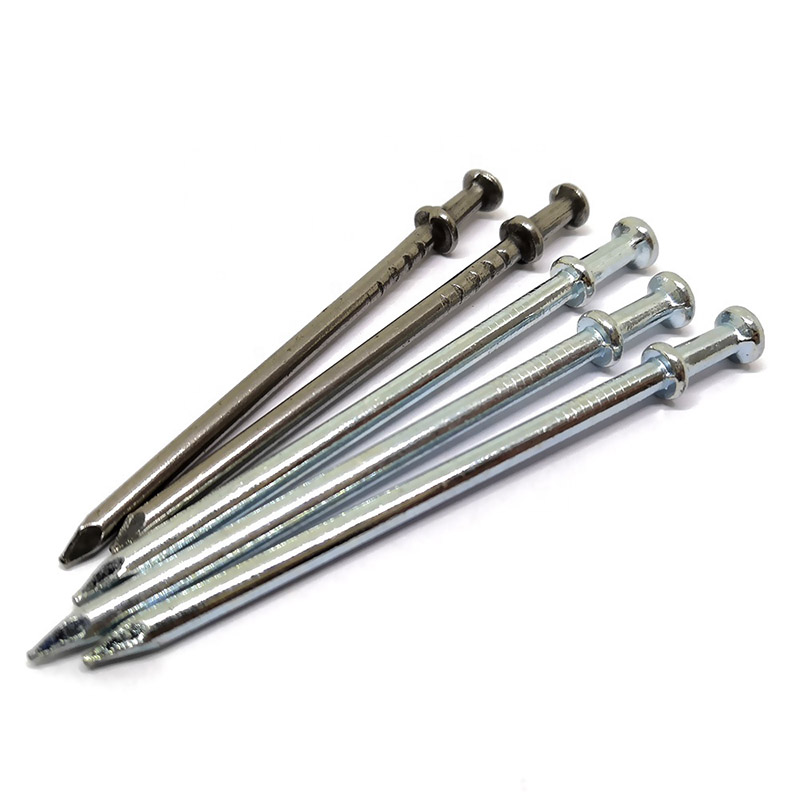
Double Head Nail
Product Information: Material Q195/Q235 Surface Treatment Bright, E.G, H.D.G, M.G, V.C, C.C, P.C and so on Head Two Head Shank Smooth Shank Point Diamond Point Kinds of pa […]
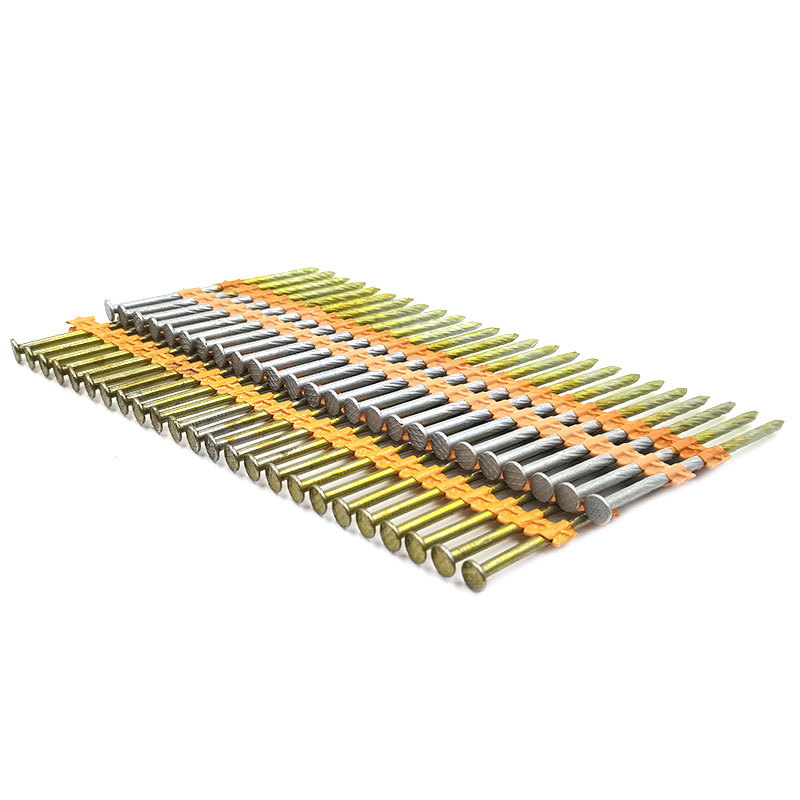
Plastic Strip Nail
Product Information: Diameter/mm(±0.05mm) Length/mm(±1.5mm) 2.87 50/60/65/70/75 3.05 70/75/83/90 3.33 75/83/90 3.76 75/90/100/130 4.11 75/90/100/130 4.5 75/90/100/130 Featur […]
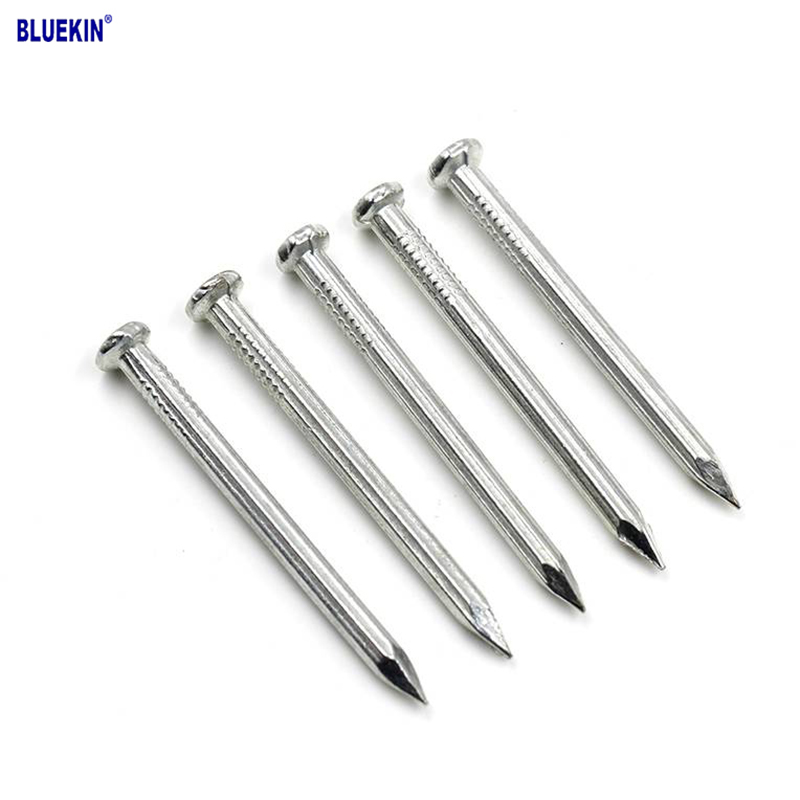
Concrete Nail
Product Information: Product name CONCRETE NAIL Material: #45 or #55 Steel Size: 1/2″-6″ Type: Round head with smooth shank or groove shank Treatment: Electro galvanized, ho […]

U Sod Staple
Product Information: Landscape Staples * 11 GAUGE STEEL CONSTRUCTION: The points on the staples are sharp enough to pierce commercial ground cloth, and the staples are long […]
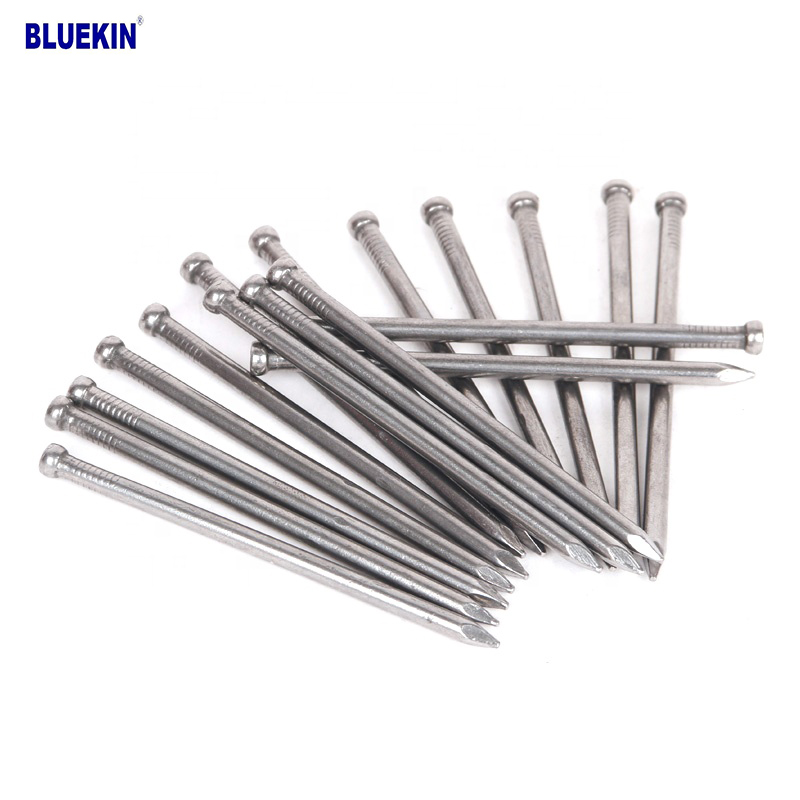
Headless Nail
Product Information: Cheap Lost Head Nails/ Headless Nails/ Finishing Nails Price Material Q195 or Q235 iron wire rod or according to request Size 1″ – 6″ Finish Polished or […]