Concrete is notoriously difficult to work with; however, your project can go off without a hitch if you have the correct tools and know-how. To make things easier, here are few suggestions when it comes to driving nails into concrete:
When tackling concrete, be sure to pick the right type of nails for the job. These nails are usually made from stainless steel or other hard metals, with a pointed end that can easily penetrate the concrete. Strong and durable materials for the best results.
Before you start hammering in the nails, it’s essential to pre-drill the holes. This tip is particularly important if your concrete is on the thicker side. Grab a drill bit that’s just shy of the size of the nails and then plunge it roughly an inch down into the concrete.
Establish the nail’s position and then employ the power of a hammer to drive it into the concrete. Ensure you are tapping the nail in at a ninety-degree marked angle, and persist in pounding away until the nail is securely set with the concrete surface.
4. Equip the nails with protection. After employing the nails, it is necessary to provide them with a barrier to guard them from any external factors. Using adhesive tape, and a finish of paint or a specialist formula for concrete-covered nails will give your work optimum security.
It’s no sweat to embed nails in cement with these tricks! All you have to do is select the appropriate nails, pre-drill, and hit them in at a 90-degree angle. Lastly, to guarantee their longevity be sure to conceal the nails post installation.
Related Product

Garden Nail
Product Information: Black or yellow color plastic ground pegs are used for fix the ground cover or woven fabric or fleece on the ground. Material: Virgin PP OR PP +UV stabi […]
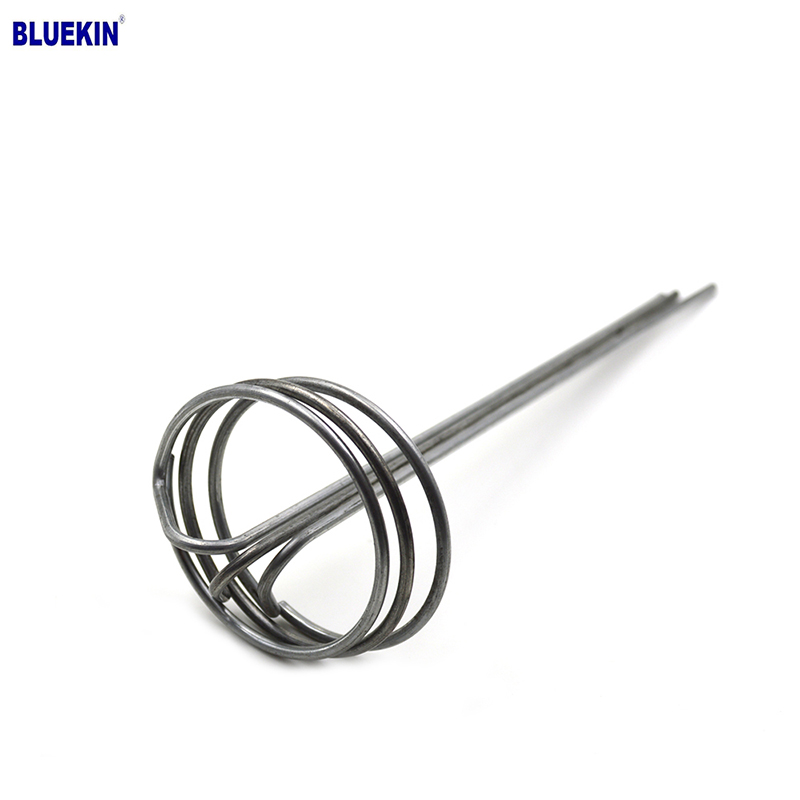
G Sod Staple
Product Information: Product name Sod Staple Material: Q195 /Q235 Size: 3/4X14GA, 3/4X9GA, 7/8X14GA, 1X9GA, 1-1/4X9GA, 1-1/2X9GA, 1-3/4X9GA Type: Round head with smooth shan […]
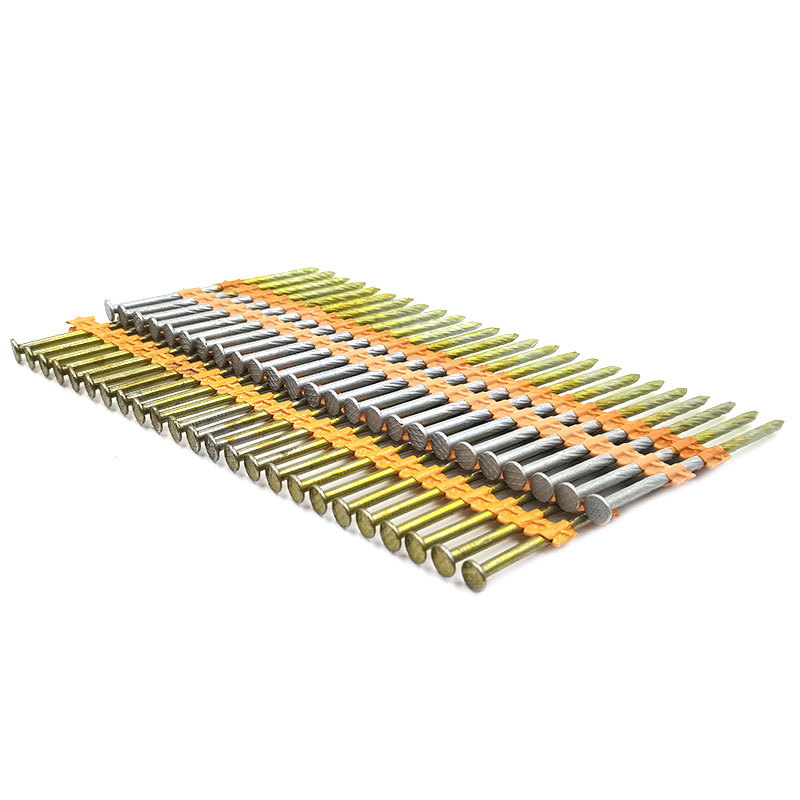
Plastic Strip Nail
Product Information: Diameter/mm(±0.05mm) Length/mm(±1.5mm) 2.87 50/60/65/70/75 3.05 70/75/83/90 3.33 75/83/90 3.76 75/90/100/130 4.11 75/90/100/130 4.5 75/90/100/130 Featur […]

Paper Strip Nail
Product Information: Material Q195, Q235, stainless steel Surface Finish Bright, Galvanized, Hot Dipped Galvaized, Electro Galvanized, Zic Yellow, Zine Bule, MG, Dacro, etc. […]
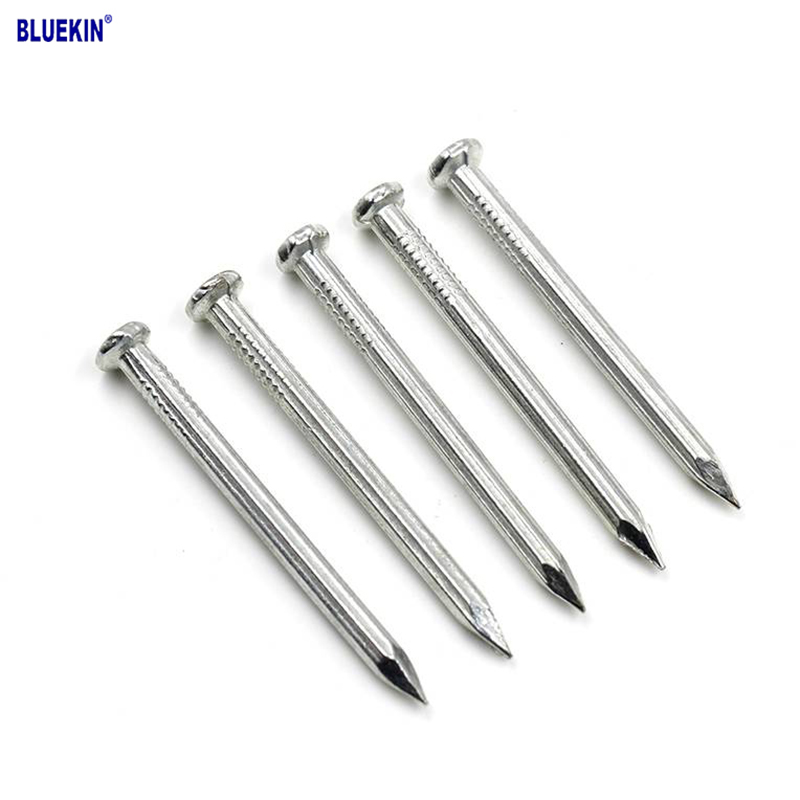
Concrete Nail
Product Information: Product name CONCRETE NAIL Material: #45 or #55 Steel Size: 1/2″-6″ Type: Round head with smooth shank or groove shank Treatment: Electro galvanized, ho […]
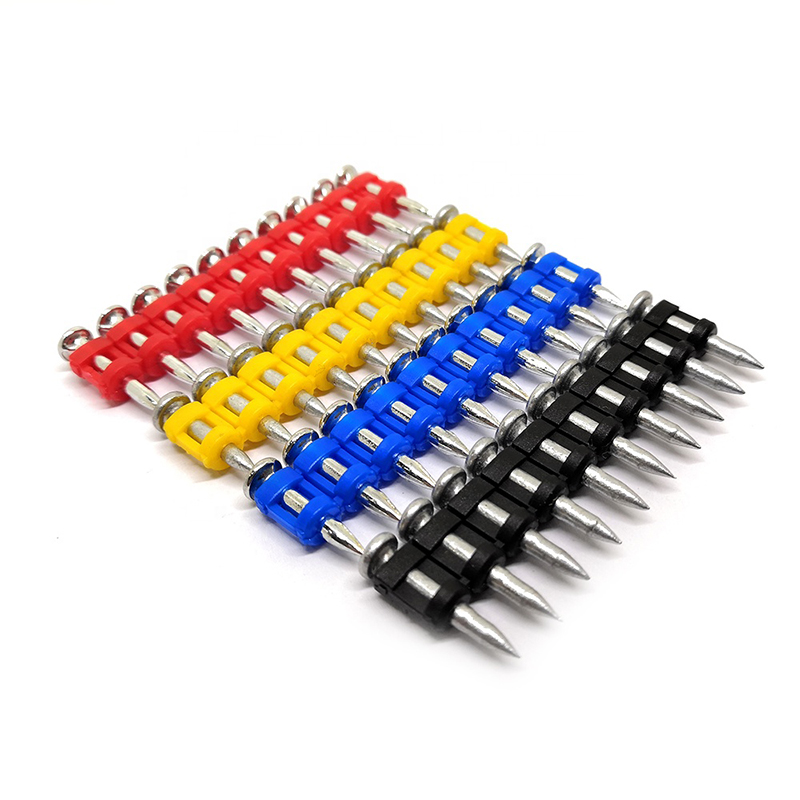
Shooting Nail
Product Information: GAS CONCRETE PIN NAIL raw material steel#45,#60 diameter 2.6mm,2.7mm,3.0mm,3.2mm length 13mm,16mm,19mm,22mm,27mm,32mm,37mm shank smooth shank & shri […]
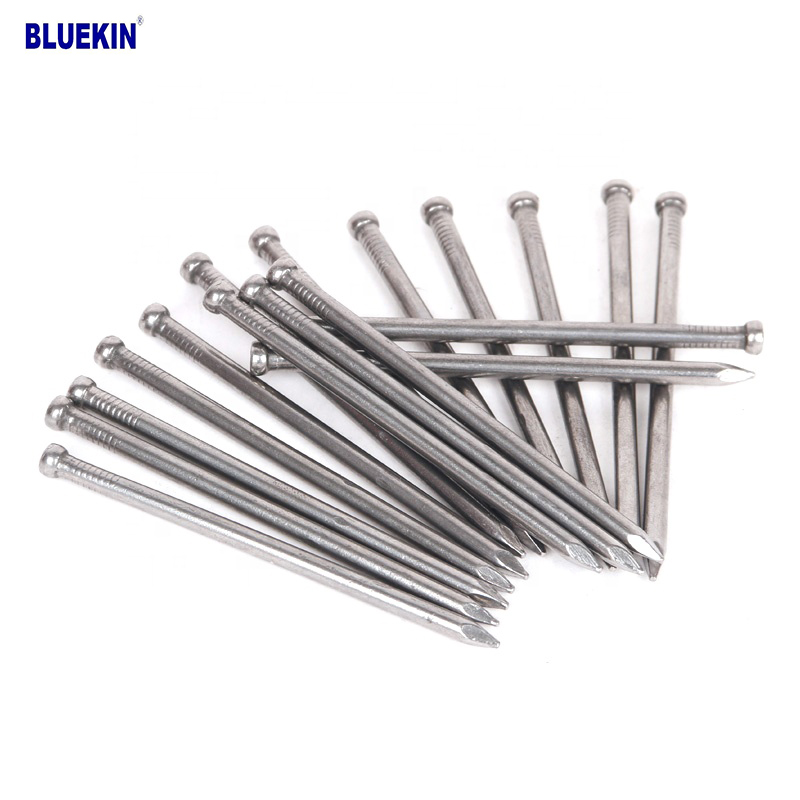
Headless Nail
Product Information: Cheap Lost Head Nails/ Headless Nails/ Finishing Nails Price Material Q195 or Q235 iron wire rod or according to request Size 1″ – 6″ Finish Polished or […]
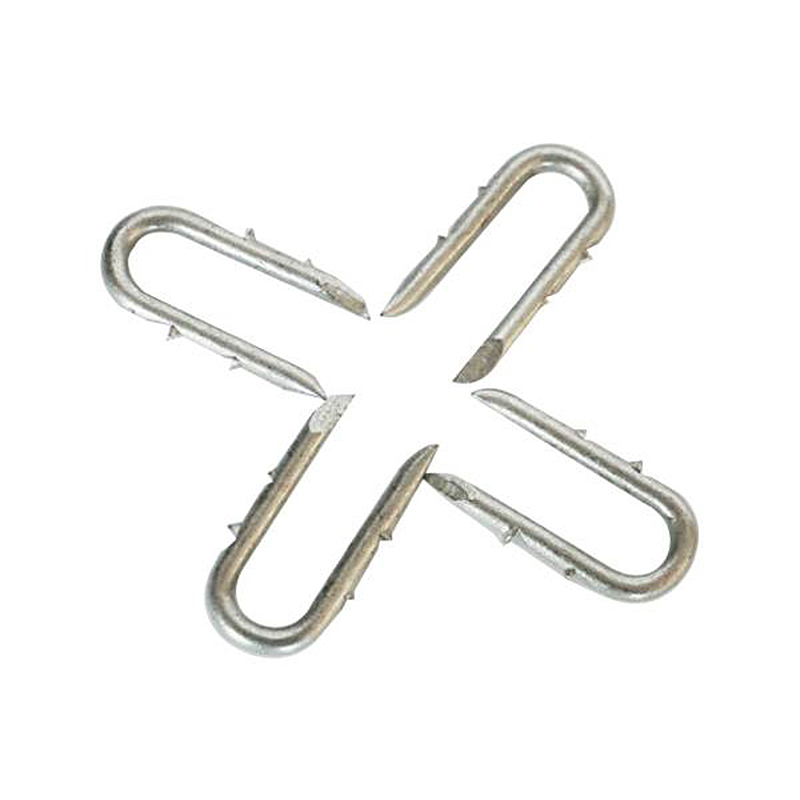
Fence U Nail
Product Information: U TYPE NAIL 1.material: Q195/Q235 Low Carbon Iron Rod 2.shank: smooth shank, single barbed shank, double barbed shank and others 3.Point: side cut point or di […]
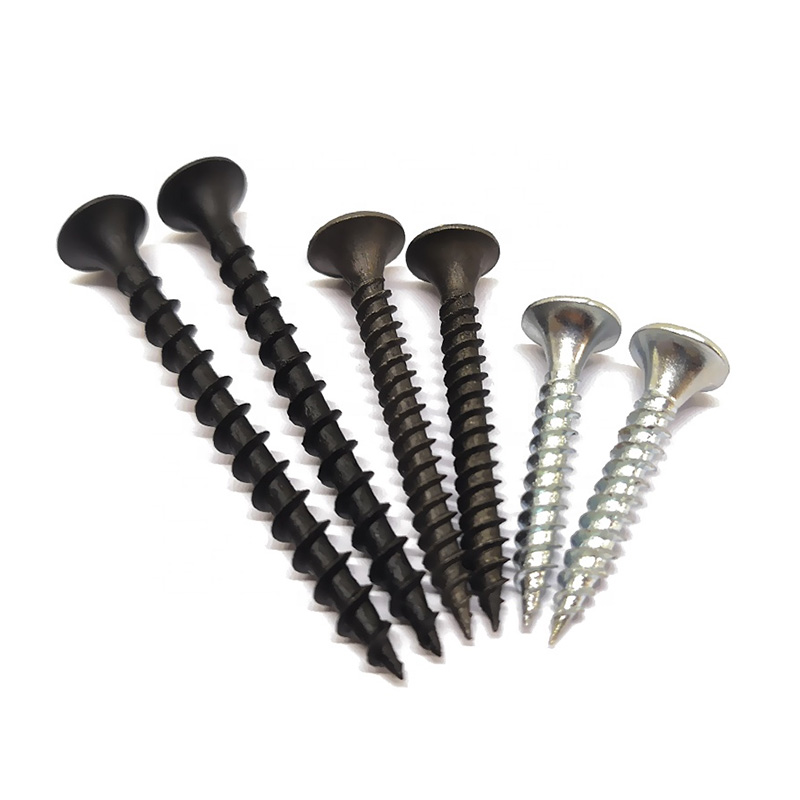
Drywall Screw
Product Information: Product Name Screws Drywall Nail Material Carbon steel C1022a Color Black,Galvanized Standard ISO,GB,DIN,JIS,ANSI,BSW Diameter M3.5-M6.3, 6#-14# Length […]