Mishaps to Abstain When Applying Acrylic Nails and How to Circumvent Them
DIY acrylic nails can be a stylish addition to any look, but it’s important to be mindful of the common pitfalls that can ruin a perfect manicure. With a little extra effort, you can avoid the most frequent faux pas and show off a set of perfect nails. This article will take you through the elementary don’ts of acrylic nails to help you be satisfied with your nail look.
The Number One Blunder: Neglecting To Ready Your Nails
Securing the perfect fit for your acrylic nails hinges upon in how well you prep your natural nails. This requires clearing away any prior coating of polish, sculpting any uneven nails edges, and buffing the surface for a level base. Failure to take these key preparatory steps will severely compromise the adhesion of the acrylics, rendering a diminished and short-lived set of artificial nails.
For perfect acrylic nails, the preparation process is just as important as the finish. Push back your cuticles with a cuticle remover, and make sure no residue from old polish or dirt remains by wiping it away with a nail polish remover. Then use a file to shape your nails, and buff the surfaces to create a seamless base.
Painting with Acrylics: When ‘Too Much’ is Unavoidable
When it comes to DIY acrylics, applying too much could be a massive blunder. Excess product can create uneven and thick nails that are liable to breakage, rather than a smooth, natural finish. Moreover, overflowing acrylic could result in nails loosening from the nail bed which can lead to pain and even infection.
When working with acrylics, you’ll want to work slowly and use small batches. Start from the root of the nail and lightly brush the acrylic up and over each nail. Making sure to take your time and spreading the acrylic across each nail evenly will create a look that’s natural and beautiful.
Diligently Giving Time Permission to Dry: The Third Misstep.
Many people forget to be patient while applying acrylic nails, and they rush to apply the next coat with the previous one still drying. This careless approach creates a sloppy and uneven appearance, while also increasing the risk of the acrylic adhesion failing and resulting in lifting or peeling off from the nail.
Complete dryness between layers of acrylic is a must-do for proper bonding and an impressive, durable finish. Allowing for each coat of acrylic to become totally dry before moving on to the next will guard against any errors and create a beautiful end result.
Excessive Filing: An Oversight to Avoid in Your Manicure.
If you’re new to applying acrylic nails, it’s essential to remain mindful when filing them – otherwise, you run the risk of overdoing it. Cut back on the filing and remember that delicacy is key; shaping the nails to your desired length and shape is all that’s necessary. Taking it too far can compromise the natural nails’ strength, leaving them prone to breakage and fragility.
A gentle file is the key to avoiding errors while filing your nails. Filing in a single direction demonstrates greater control when you decide to shape and shorten your nails without causing them any weakness.
All that stands in the way of obtaining flawless acrylic nails is a little bit of time, patience, and determination. Mistakes are easy to make, but with the help of these tips, you can create a dazzling set of nails that will add radiance to your look and help you feel fabulous!
Related Product
Double Head Nail
Product Information: Material Q195/Q235 Surface Treatment Bright, E.G, H.D.G, M.G, V.C, C.C, P.C and so on Head Two Head Shank Smooth Shank Point Diamond Point Kinds of pa […]

U Sod Staple
Product Information: Landscape Staples * 11 GAUGE STEEL CONSTRUCTION: The points on the staples are sharp enough to pierce commercial ground cloth, and the staples are long […]
Fence U Nail
Product Information: U TYPE NAIL 1.material: Q195/Q235 Low Carbon Iron Rod 2.shank: smooth shank, single barbed shank, double barbed shank and others 3.Point: side cut point or di […]
Concrete Nail
Product Information: Product name CONCRETE NAIL Material: #45 or #55 Steel Size: 1/2″-6″ Type: Round head with smooth shank or groove shank Treatment: Electro galvanized, ho […]
Garden Nail
Product Information: Black or yellow color plastic ground pegs are used for fix the ground cover or woven fabric or fleece on the ground. Material: Virgin PP OR PP +UV stabi […]
G Sod Staple
Product Information: Product name Sod Staple Material: Q195 /Q235 Size: 3/4X14GA, 3/4X9GA, 7/8X14GA, 1X9GA, 1-1/4X9GA, 1-1/2X9GA, 1-3/4X9GA Type: Round head with smooth shan […]
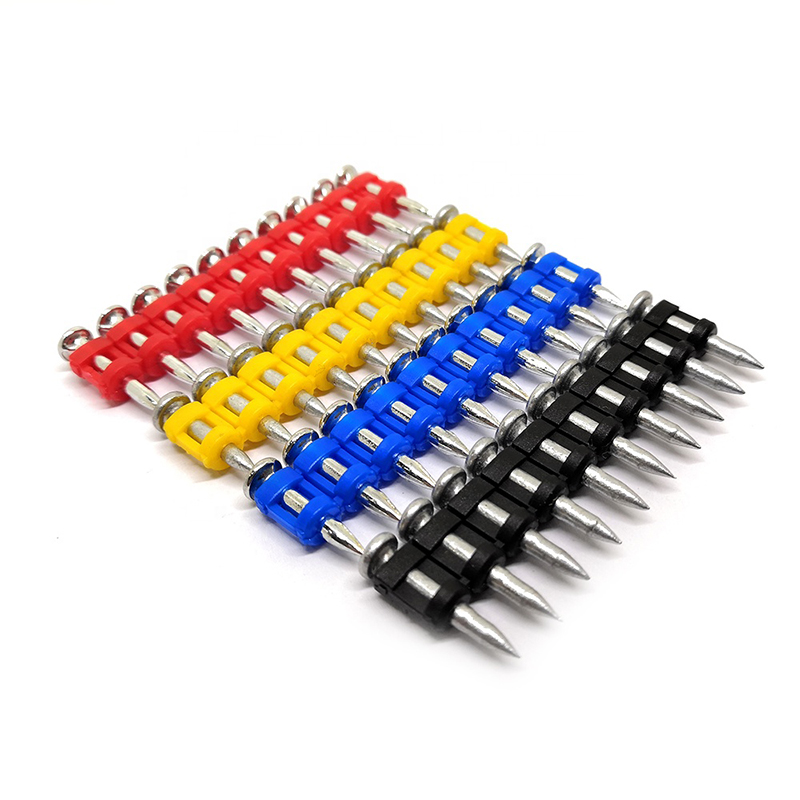
Shooting Nail
Product Information: GAS CONCRETE PIN NAIL raw material steel#45,#60 diameter 2.6mm,2.7mm,3.0mm,3.2mm length 13mm,16mm,19mm,22mm,27mm,32mm,37mm shank smooth shank & shri […]
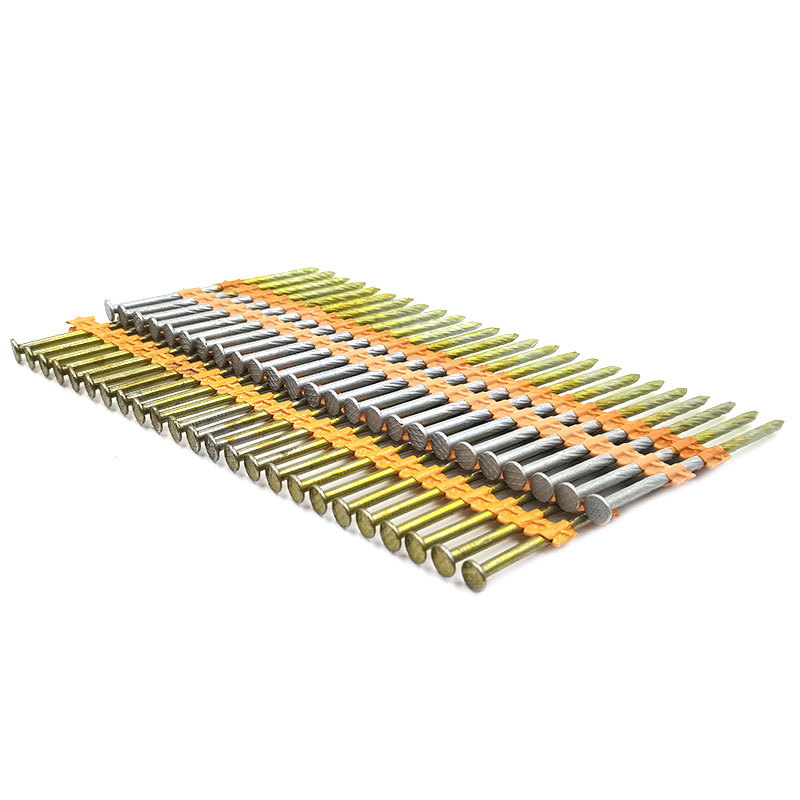
Plastic Strip Nail
Product Information: Diameter/mm(±0.05mm) Length/mm(±1.5mm) 2.87 50/60/65/70/75 3.05 70/75/83/90 3.33 75/83/90 3.76 75/90/100/130 4.11 75/90/100/130 4.5 75/90/100/130 Featur […]
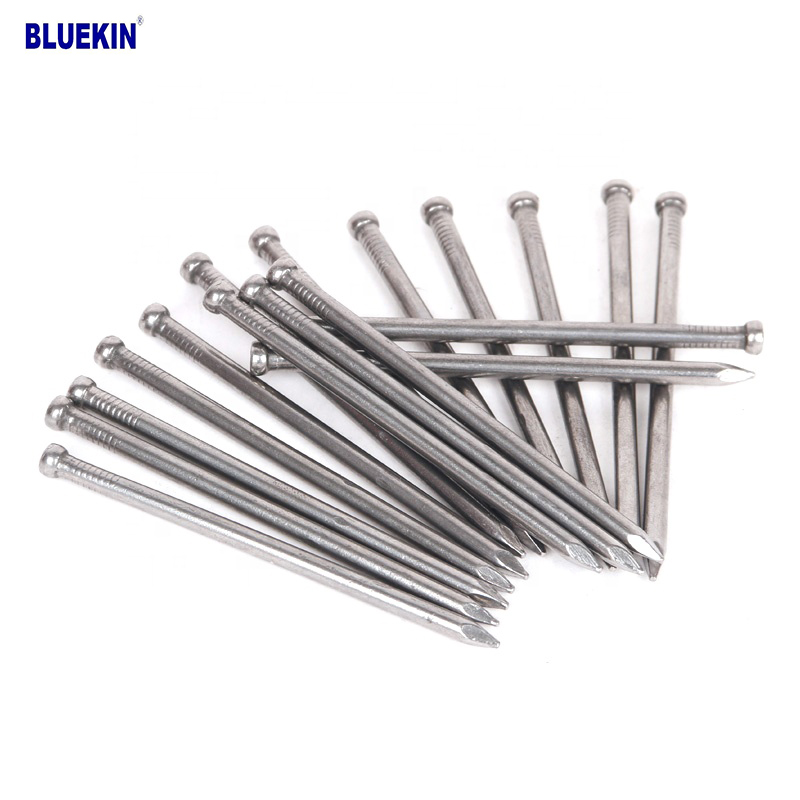
Headless Nail
Product Information: Cheap Lost Head Nails/ Headless Nails/ Finishing Nails Price Material Q195 or Q235 iron wire rod or according to request Size 1″ – 6″ Finish Polished or […]
